
Starting point
Ours
Upload one black-and-white, sepia, or faded photo and create an AI colorized result.
Other photo workflows
Restoration pages may combine repair, enhancement, face fix, colorization, and upscale in one broader suite.
Upload one black-and-white, sepia, or faded family photo and create a plausible AI color interpretation you can review, download, and share. The result is an AI reconstruction, not verified historical truth, so keep the original photo as your source of record.
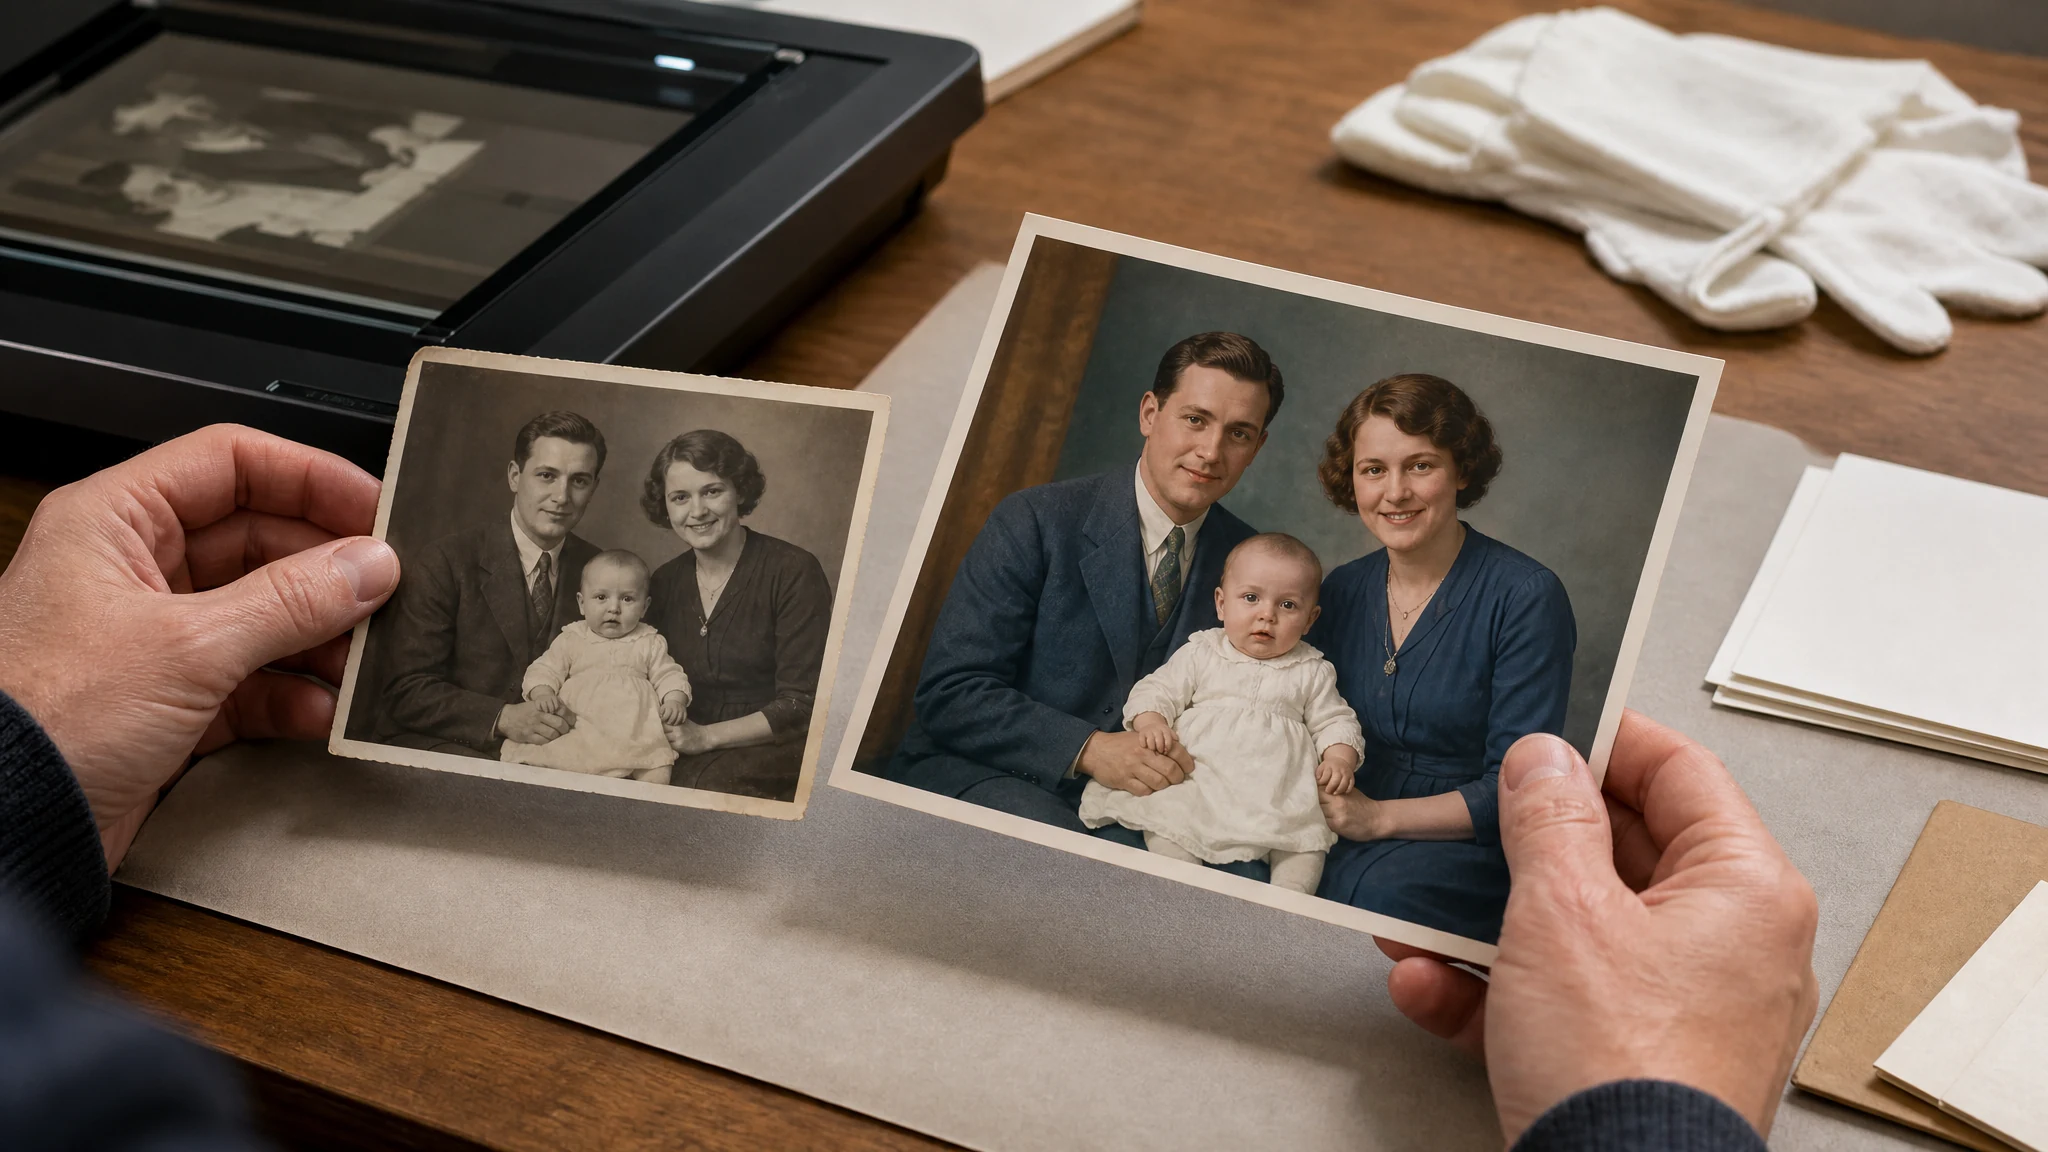
Trusted by 12,000,000+ users worldwide.
Keep the workflow simple: choose a readable old photo, generate the AI color result, then review the colorized copy before sharing.
Choose one black-and-white, sepia, or faded photo. A clear scan with visible faces, clothing, and background details usually works best.
Start the colorization task and keep the page open while Face AI creates a plausible color interpretation.
Check color choices, identity-sensitive details, and context before downloading or sharing the result with family or collaborators.
Use the colorizer for practical old-photo workflows: family archives, portrait storytelling, social sharing, restoration planning, and creative review copies.
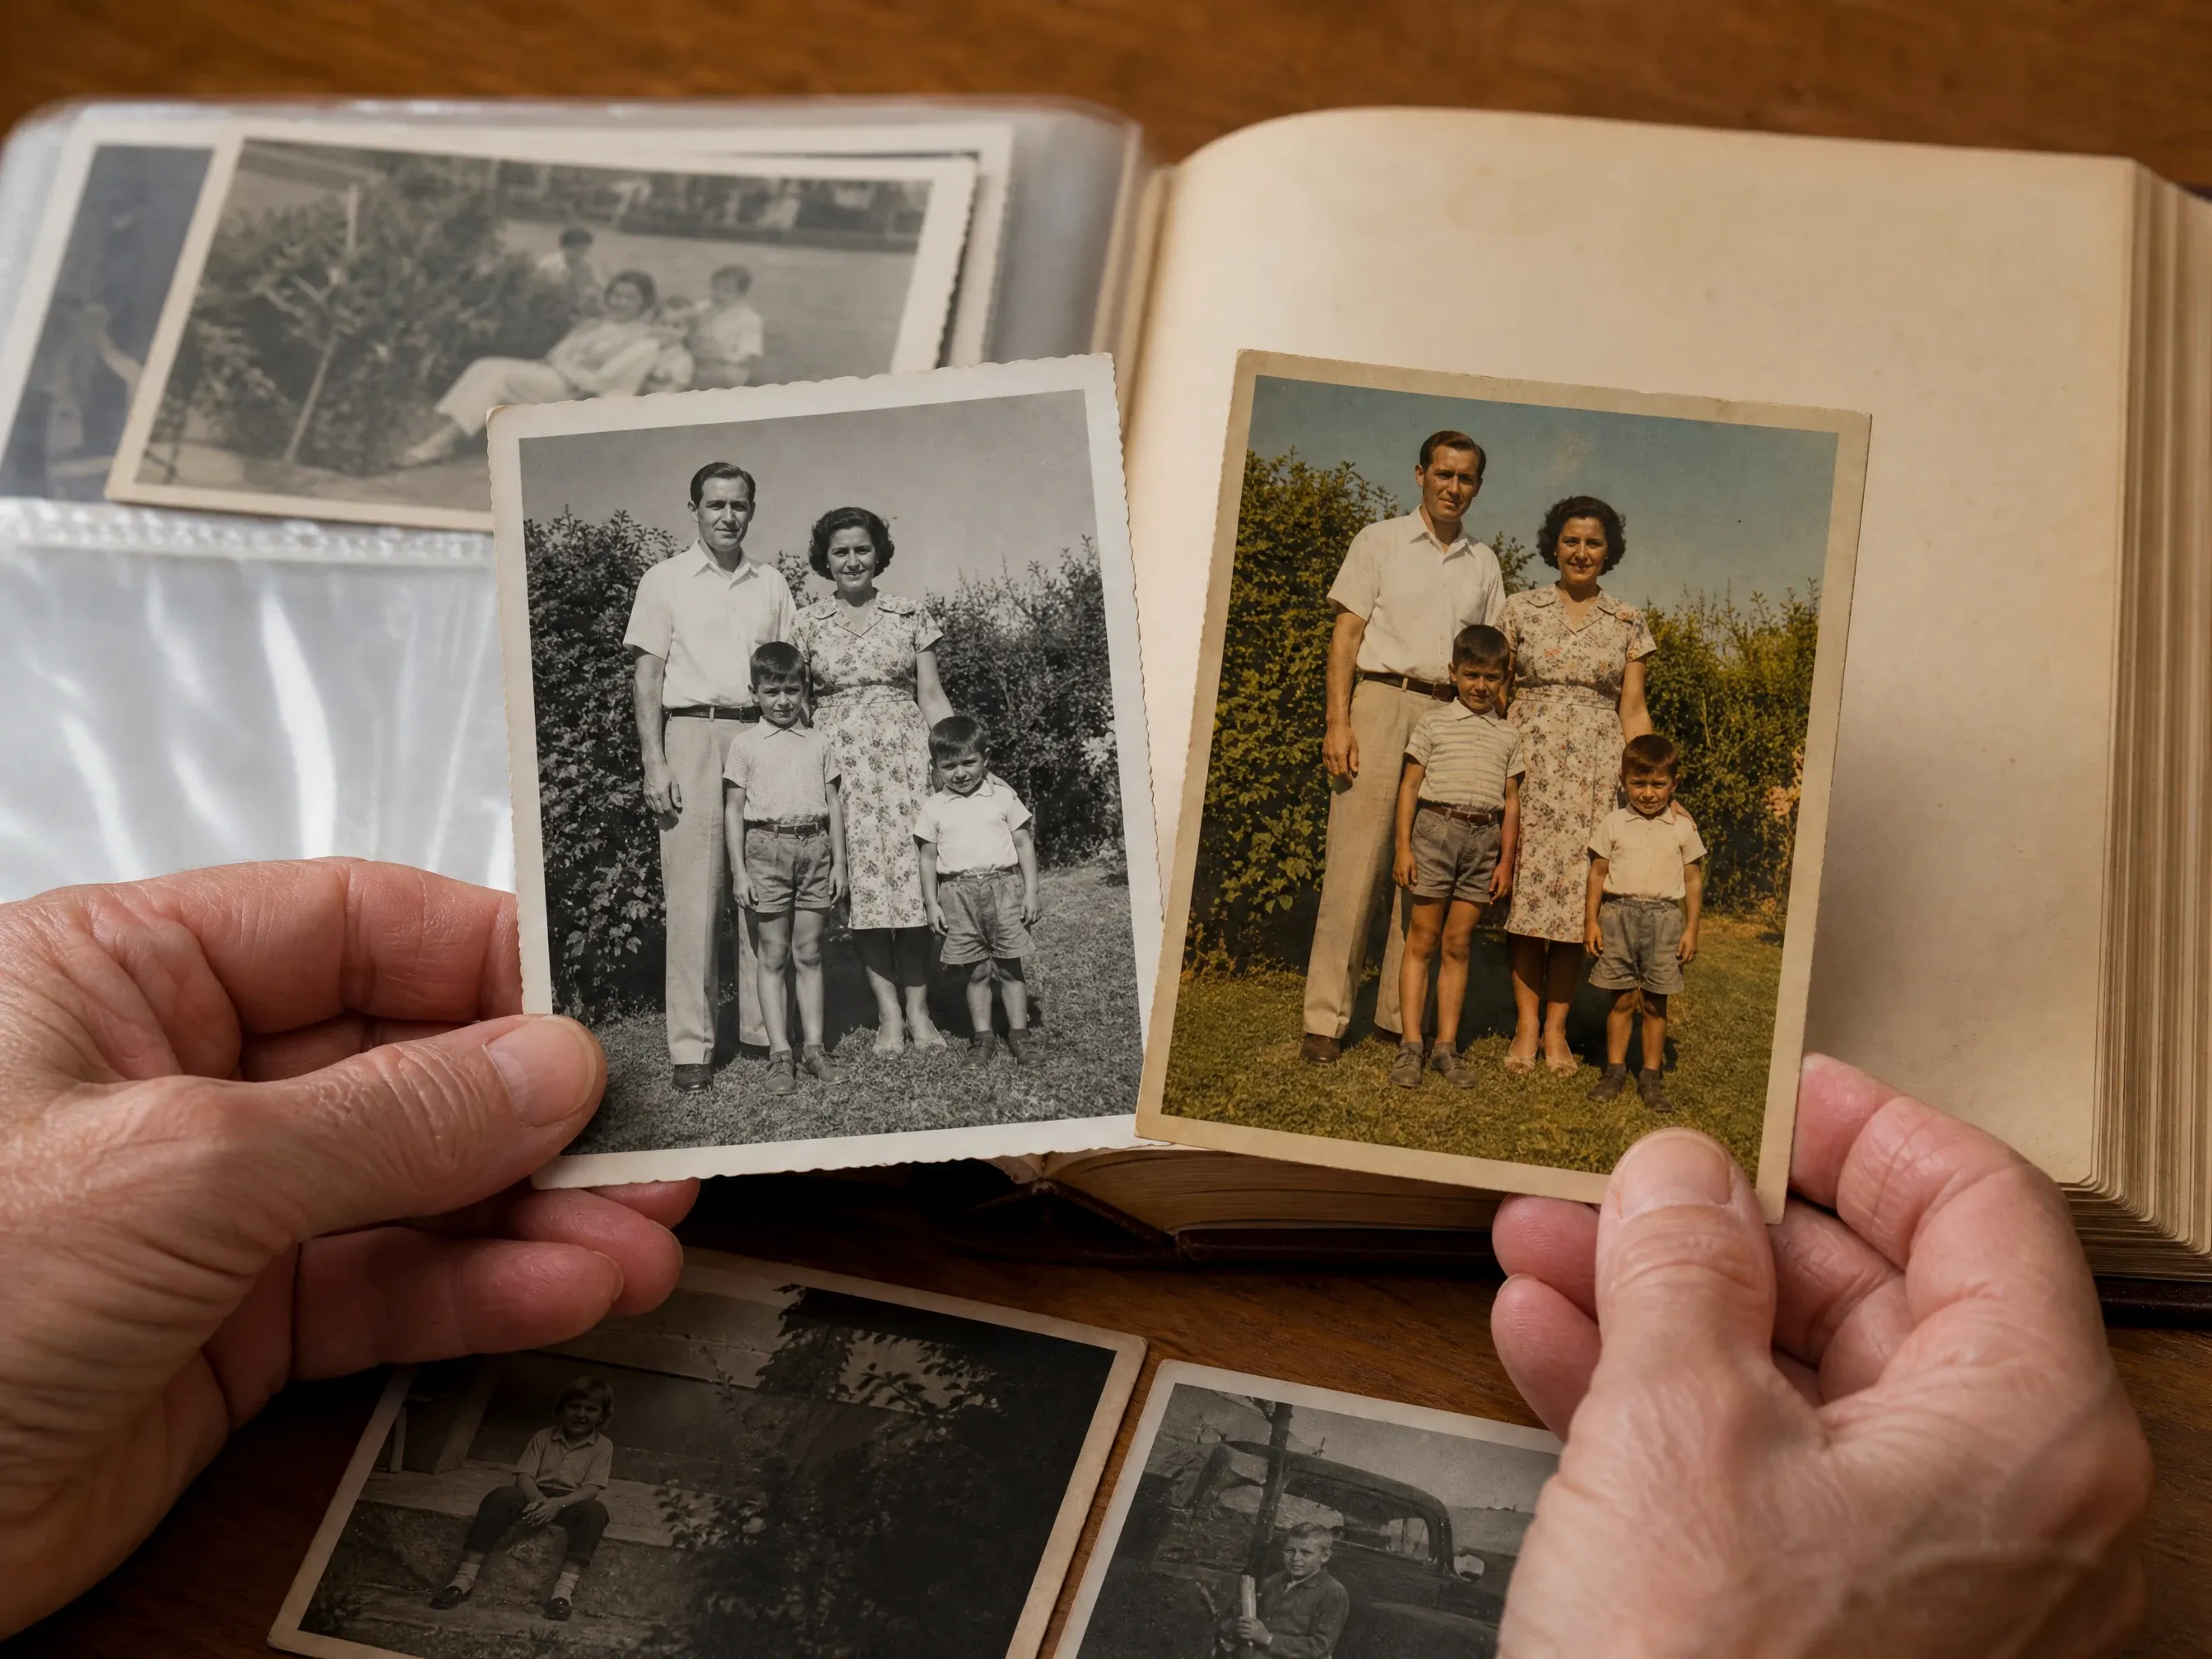
Turn black-and-white album photos into warmer review copies for relatives while preserving the original file separately.
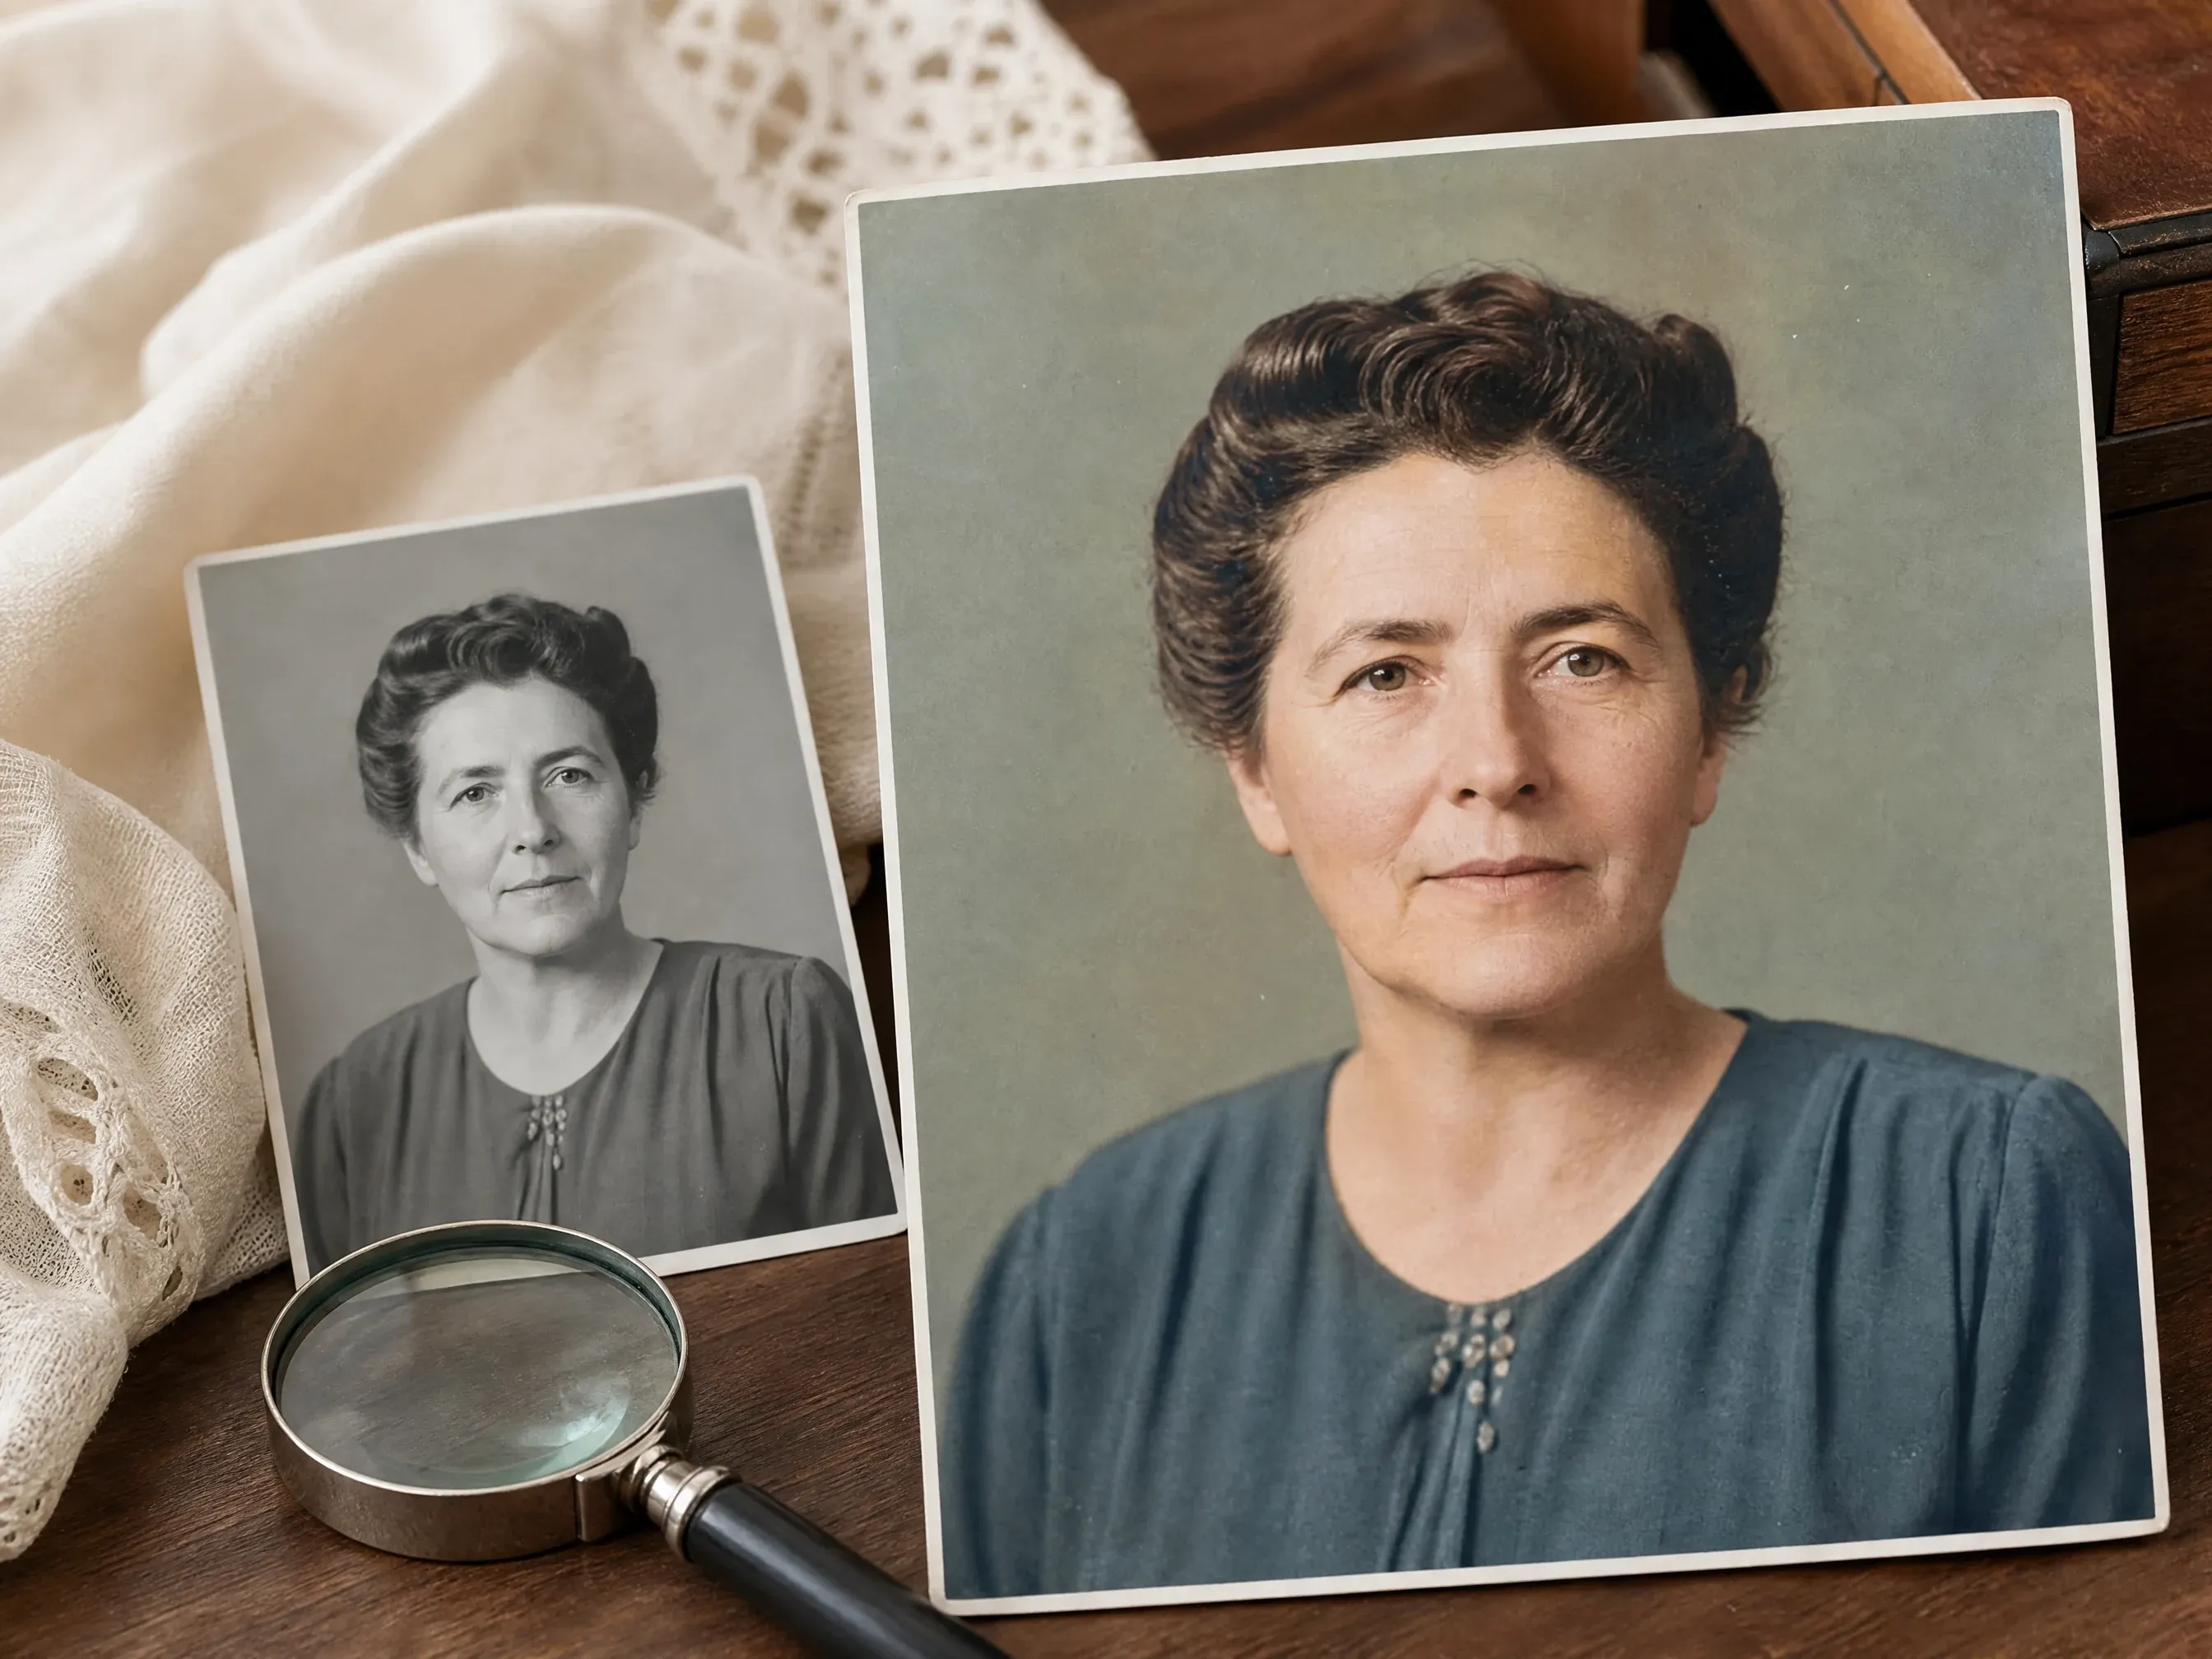
Add plausible color to old portraits, graduation photos, wedding memories, or inherited snapshots before sharing them privately.
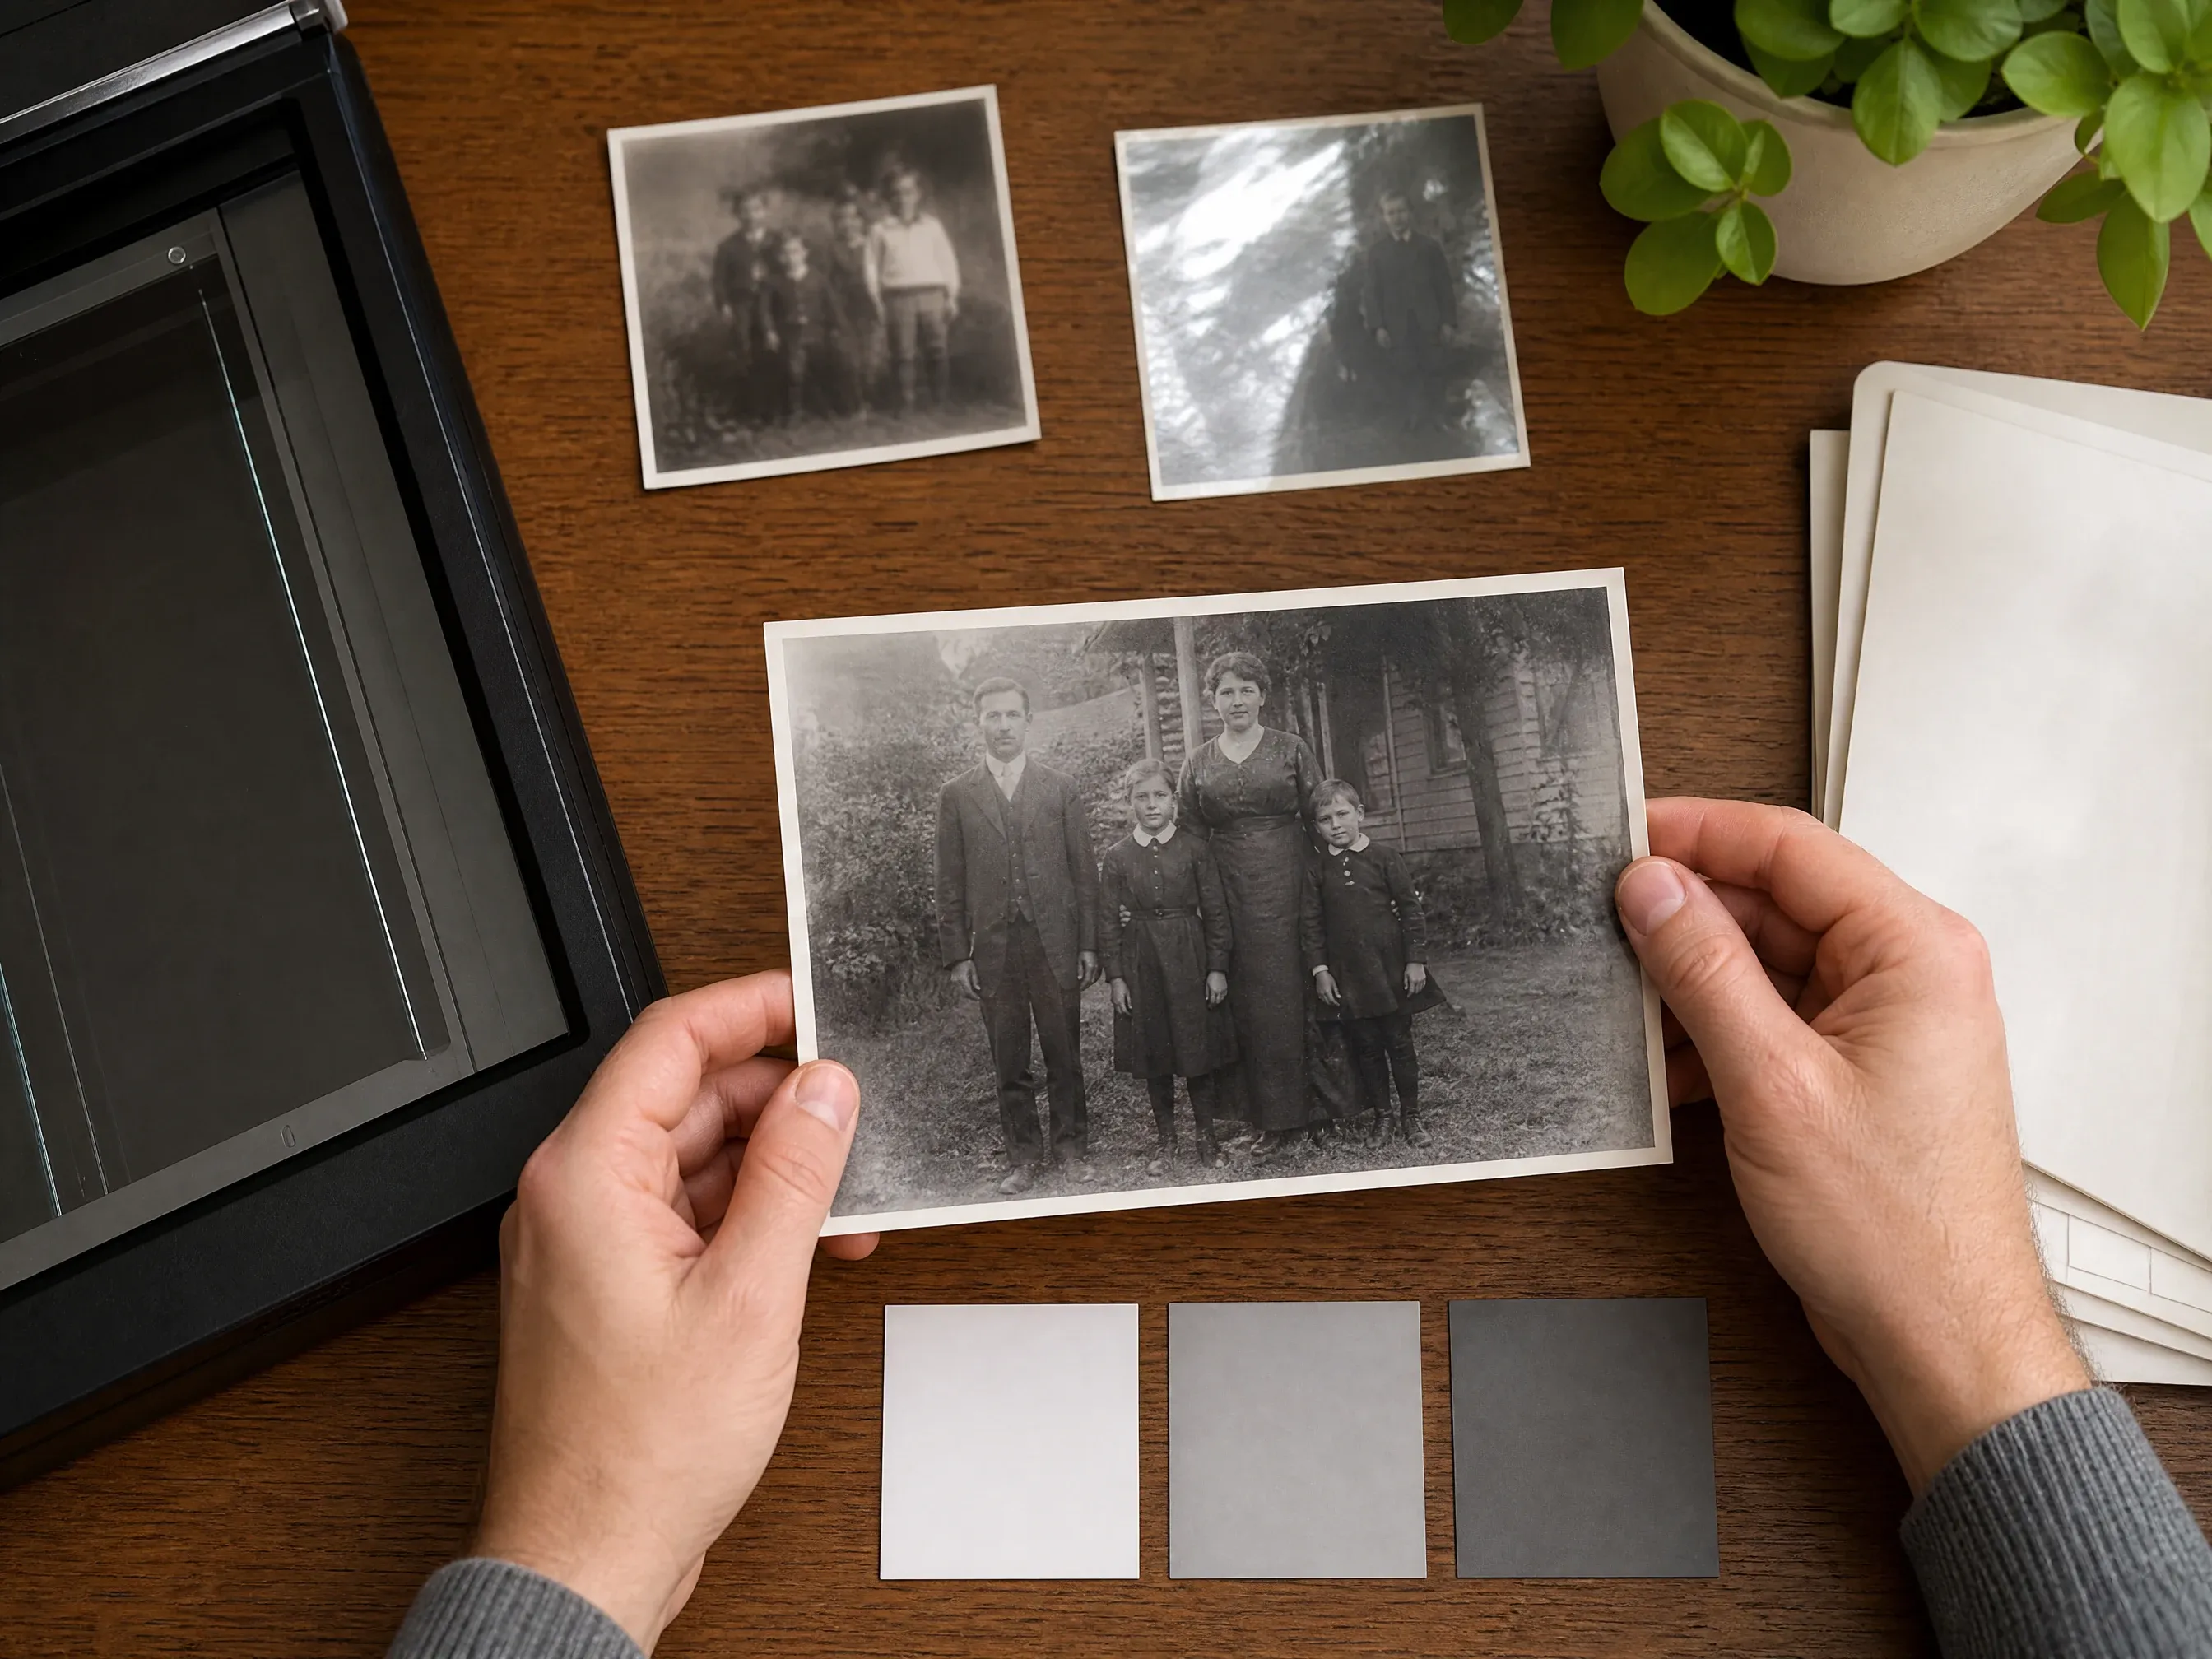
Create a color draft first, then decide whether the photo still needs clarity enhancement, upscaling, or manual repair.
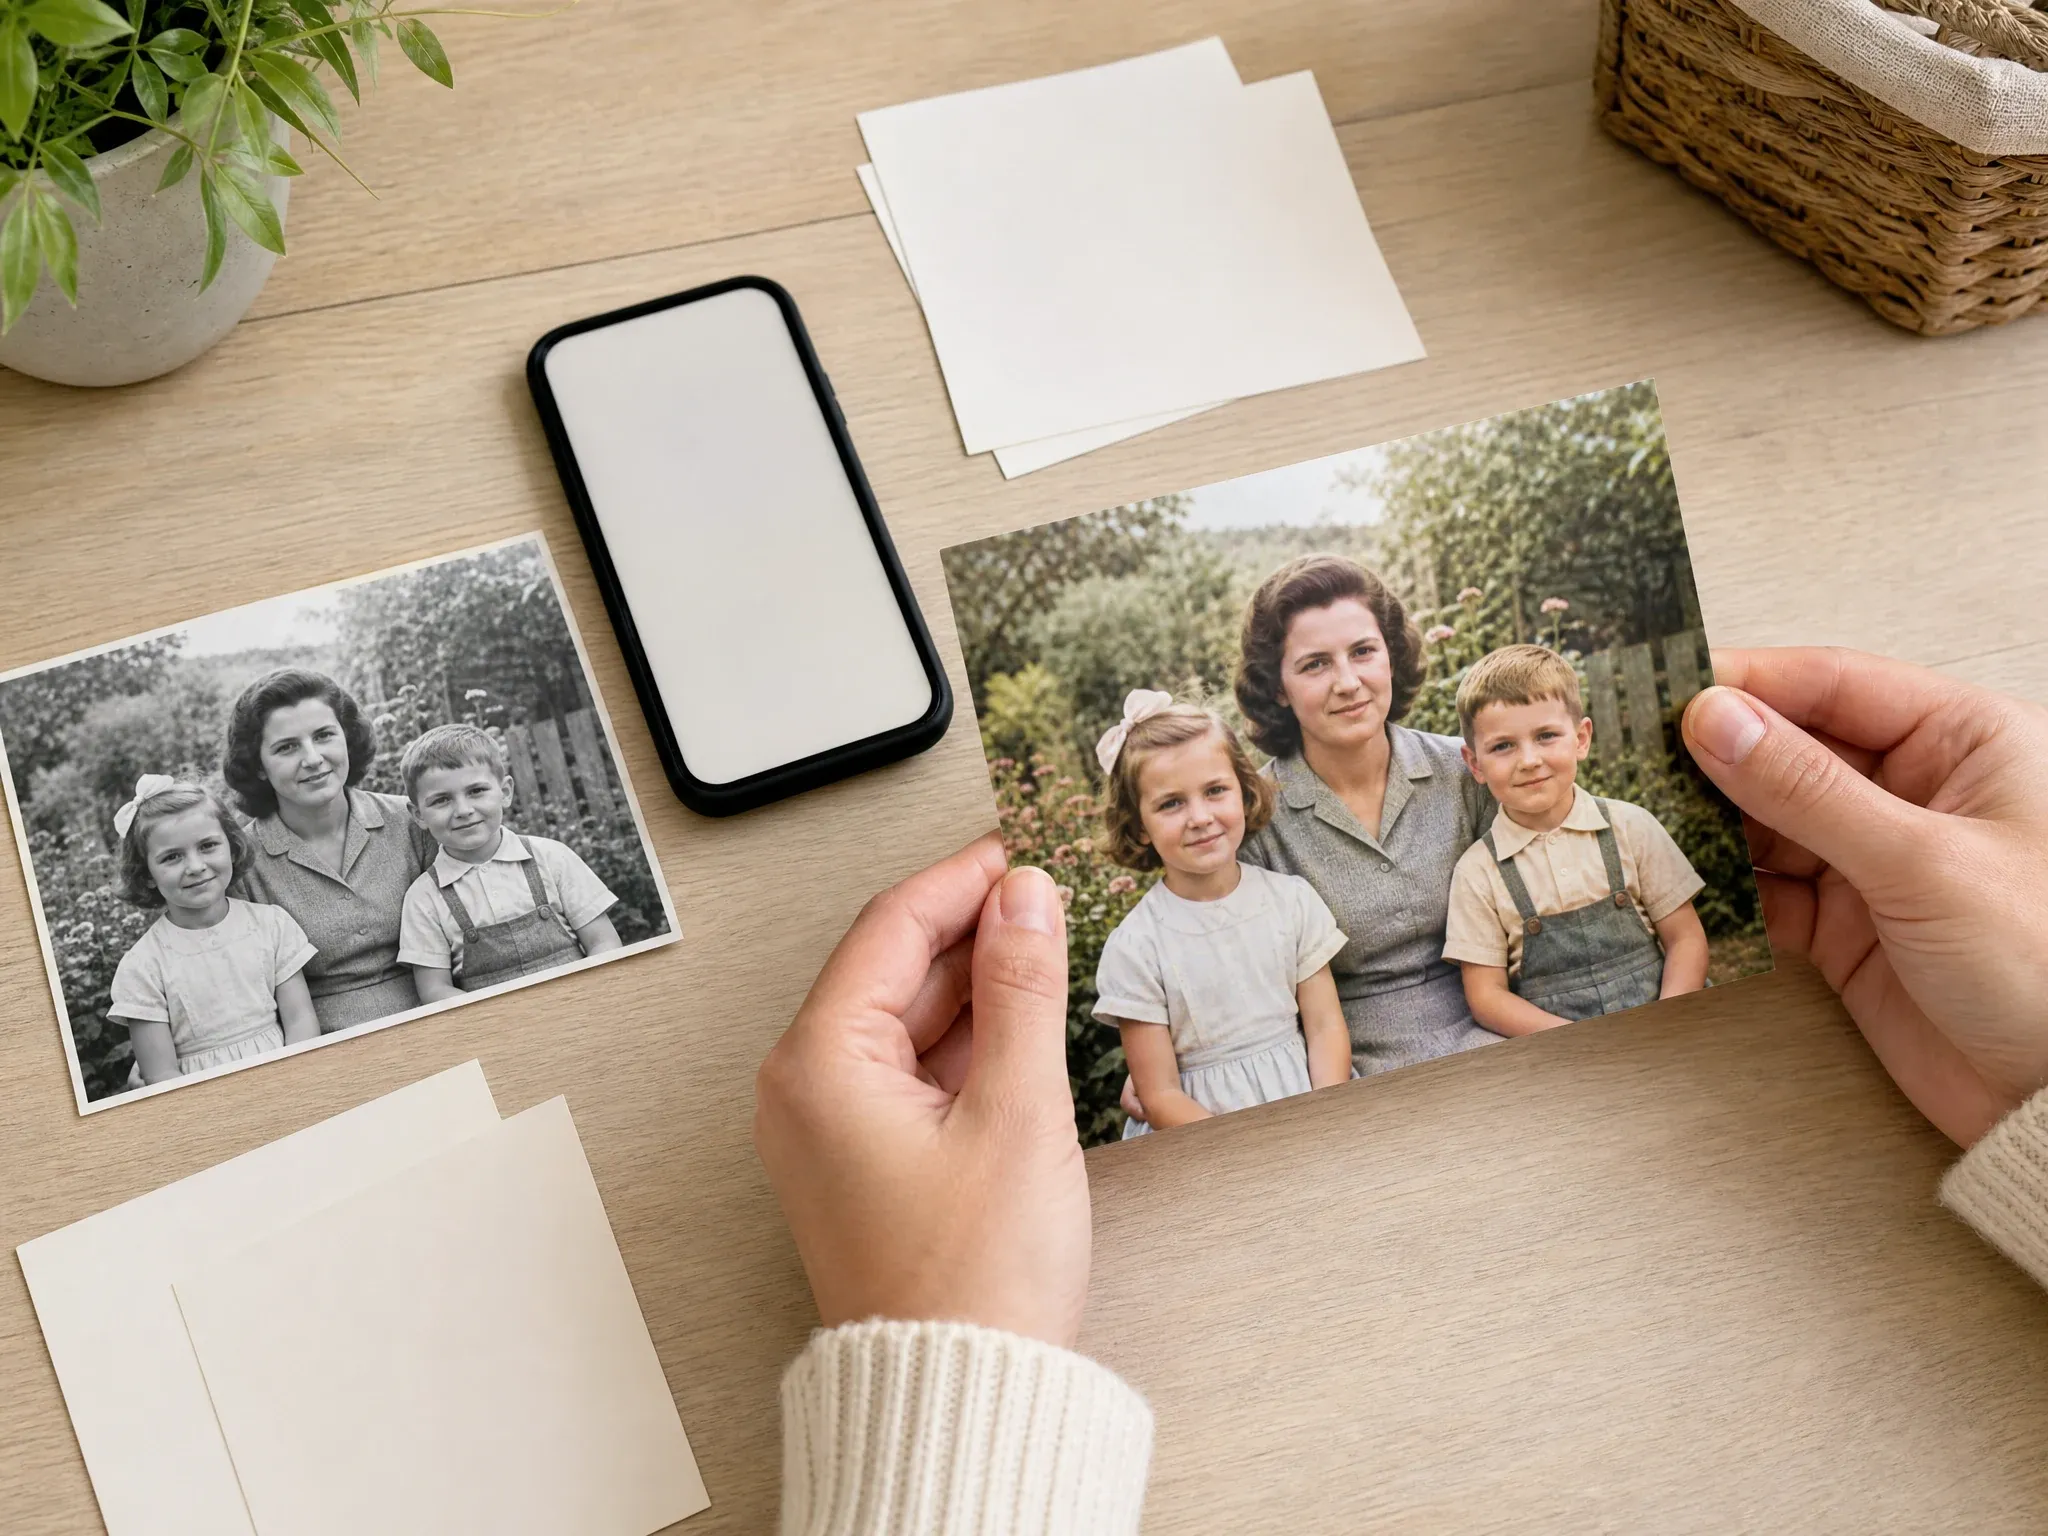
Download a colorized copy for family chats, private albums, presentations, or storytelling posts after checking the result.
An AI photo colorizer analyzes a monochrome or sepia source photo and generates a plausible color version. It helps old photos feel easier to view, but the color choices are inferred by AI.
The result can be emotionally useful and visually convincing, but it is not a verified historical record of exact clothing, skin, object, or scene colors.
Clear scans, visible faces, and simple lighting give the model more real context than small, glossy, angled, or heavily damaged inputs.
Colorization adds plausible color to the existing photo. Use a restoration workflow first when the source also has scratches, torn corners, stains, or missing areas.
Face AI keeps the colorizer first, gives source-photo guidance, and keeps the public promise aligned with a focused one-photo colorization workflow.
Upload and test a photo before reading long copy. The page is built around the actual colorization workflow.
Colorized results stay in their own history, download, and share flow so they do not get mixed with enhancer or upscaler experiments.
The page clearly says color is inferred, not historically guaranteed, so family and archive use stays responsible.
Use enhancer, upscaler, editor, or old photo restoration next depending on what the colorized image still needs.
Colorization quality depends on the source. Give the model a clear photo, then review every important detail before using the output.
Scan or photograph the print flat in even light. Avoid glare, album plastic, strong shadows, and angled phone captures.
Remove table edges, album borders, handwritten notes, and unrelated surroundings before uploading.
Review faces, uniforms, flags, products, interiors, and public-figure context carefully before sharing.
If the colorized result is useful but soft, move it to AI Photo Enhancer or AI Image Upscaler for a separate clarity pass.
Pick the workflow that matches the real problem. Colorization adds plausible color; it does not replace enhancement, damage repair, or human archive review.
| Criteria | Face AIOurs Face AI colorization workflow | Other photo workflows |
|---|---|---|
| Starting point | Upload one black-and-white, sepia, or faded photo and create an AI colorized result. | Restoration pages may combine repair, enhancement, face fix, colorization, and upscale in one broader suite. |
| Best use | Family albums, old portraits, memory sharing, storytelling visuals, and first-pass color drafts. | Manual editors are stronger when exact colors, brush repair, stains, or missing areas matter. |
| Controls | Source upload, result preview, history, download, share, and practical quality guidance. | Advanced colorizers may expose era presets, saturation, or premium model controls that need a different product surface. |
| Accuracy boundary | AI color is plausible and interpretive, not verified historical fact. | Some pages imply period accuracy that still needs human review and source evidence. |
| Next step | Enhance, upscale, or edit after colorization when the copy needs a cleaner or more focused finish. | One-shot flows can hide which operation caused a useful or flawed result. |
Upload one black-and-white, sepia, or faded photo and create an AI colorized result.
Restoration pages may combine repair, enhancement, face fix, colorization, and upscale in one broader suite.
Family albums, old portraits, memory sharing, storytelling visuals, and first-pass color drafts.
Manual editors are stronger when exact colors, brush repair, stains, or missing areas matter.
Source upload, result preview, history, download, share, and practical quality guidance.
Advanced colorizers may expose era presets, saturation, or premium model controls that need a different product surface.
AI color is plausible and interpretive, not verified historical fact.
Some pages imply period accuracy that still needs human review and source evidence.
Enhance, upscale, or edit after colorization when the copy needs a cleaner or more focused finish.
One-shot flows can hide which operation caused a useful or flawed result.
These comments focus on the actual loop: prepare a clear old photo, generate plausible color, inspect the result, then download or continue editing.
"The useful promise is color interpretation, not historical proof. I upload a clean scan, review the colors, and keep the original beside it."

Mei Chen
E-commerce Director
"It helps families connect with old black-and-white photos, as long as everyone understands the colors are AI estimates."

Yuki Tanaka
Head of Marketplace Operations
"The page is practical: one old photo in, colorized result out, then download or share after checking faces and clothing."

Jieun Park
Growth Marketing Lead
"I like the explicit boundary around documentary use. The result can be beautiful, but it should not be treated as verified archive color."

Aaliyah Williams
Digital Marketing Director
"For faded portraits, I still enhance or crop separately first. Colorization works best after the source is readable."

Ananya Iyer
Content Marketing Lead
"The workflow gives us a fast family-album draft without pretending to repair scratches, stains, or missing areas."

Mai Nguyen
Growth Marketing Lead
"The useful promise is color interpretation, not historical proof. I upload a clean scan, review the colors, and keep the original beside it."
Mei Chen
E-commerce Director
"It helps families connect with old black-and-white photos, as long as everyone understands the colors are AI estimates."
Yuki Tanaka
Head of Marketplace Operations
"The page is practical: one old photo in, colorized result out, then download or share after checking faces and clothing."
Jieun Park
Growth Marketing Lead
"I like the explicit boundary around documentary use. The result can be beautiful, but it should not be treated as verified archive color."
Aaliyah Williams
Digital Marketing Director
"For faded portraits, I still enhance or crop separately first. Colorization works best after the source is readable."
Ananya Iyer
Content Marketing Lead
"The workflow gives us a fast family-album draft without pretending to repair scratches, stains, or missing areas."
Mai Nguyen
Growth Marketing Lead
"Download and history make it easy to compare a few old-photo experiments before deciding which one is worth keeping."

Marie Laurent
Storytelling & Brand Lead
"The useful promise is color interpretation, not historical proof. I upload a clean scan, review the colors, and keep the original beside it."
Mei Chen
E-commerce Director
"It helps families connect with old black-and-white photos, as long as everyone understands the colors are AI estimates."
Yuki Tanaka
Head of Marketplace Operations
"The page is practical: one old photo in, colorized result out, then download or share after checking faces and clothing."
Jieun Park
Growth Marketing Lead
"I like the explicit boundary around documentary use. The result can be beautiful, but it should not be treated as verified archive color."
Aaliyah Williams
Digital Marketing Director
"For faded portraits, I still enhance or crop separately first. Colorization works best after the source is readable."
Ananya Iyer
Content Marketing Lead
"The workflow gives us a fast family-album draft without pretending to repair scratches, stains, or missing areas."
Mai Nguyen
Growth Marketing Lead
"Download and history make it easy to compare a few old-photo experiments before deciding which one is worth keeping."
Marie Laurent
Storytelling & Brand Lead
"We use it for storytelling visuals, not evidence. That distinction matters when a photo is connected to real family history."

Astrid Nielsen
Head of Thought Leadership
"A clear scan beats a glossy phone snapshot every time. The source tips keep expectations grounded."

Charlotte Beaumont
Director of Content Operations
"The page stays honest about color being plausible, not guaranteed. That makes it much easier to approve for public use."

Yifan Zheng
Demand Generation Lead
"The source tips are useful because they make me scan the print properly before trying to colorize it."

Kai Nakamura
Global Creative Director
"I can make a warmer copy for relatives while keeping the black-and-white original as the record."

Nina Volkov
Visual Design Director
"The dedicated colorizer history keeps these experiments separate from enhancer and upscaler work."

Rafael Santos
VP of Creative
"The best part is the review step. It reminds clients that AI color needs human judgment before publishing."

Priya Chen
Creative Strategy Lead
"We use it for storytelling visuals, not evidence. That distinction matters when a photo is connected to real family history."
Astrid Nielsen
Head of Thought Leadership
"A clear scan beats a glossy phone snapshot every time. The source tips keep expectations grounded."
Charlotte Beaumont
Director of Content Operations
"The page stays honest about color being plausible, not guaranteed. That makes it much easier to approve for public use."
Yifan Zheng
Demand Generation Lead
"The source tips are useful because they make me scan the print properly before trying to colorize it."
Kai Nakamura
Global Creative Director
"I can make a warmer copy for relatives while keeping the black-and-white original as the record."
Nina Volkov
Visual Design Director
"The dedicated colorizer history keeps these experiments separate from enhancer and upscaler work."
Rafael Santos
VP of Creative
"The best part is the review step. It reminds clients that AI color needs human judgment before publishing."
Priya Chen
Creative Strategy Lead
Choose the next Face AI tool based on what the old photo still needs: clarity, resolution, focused editing, or a separate restoration workflow.
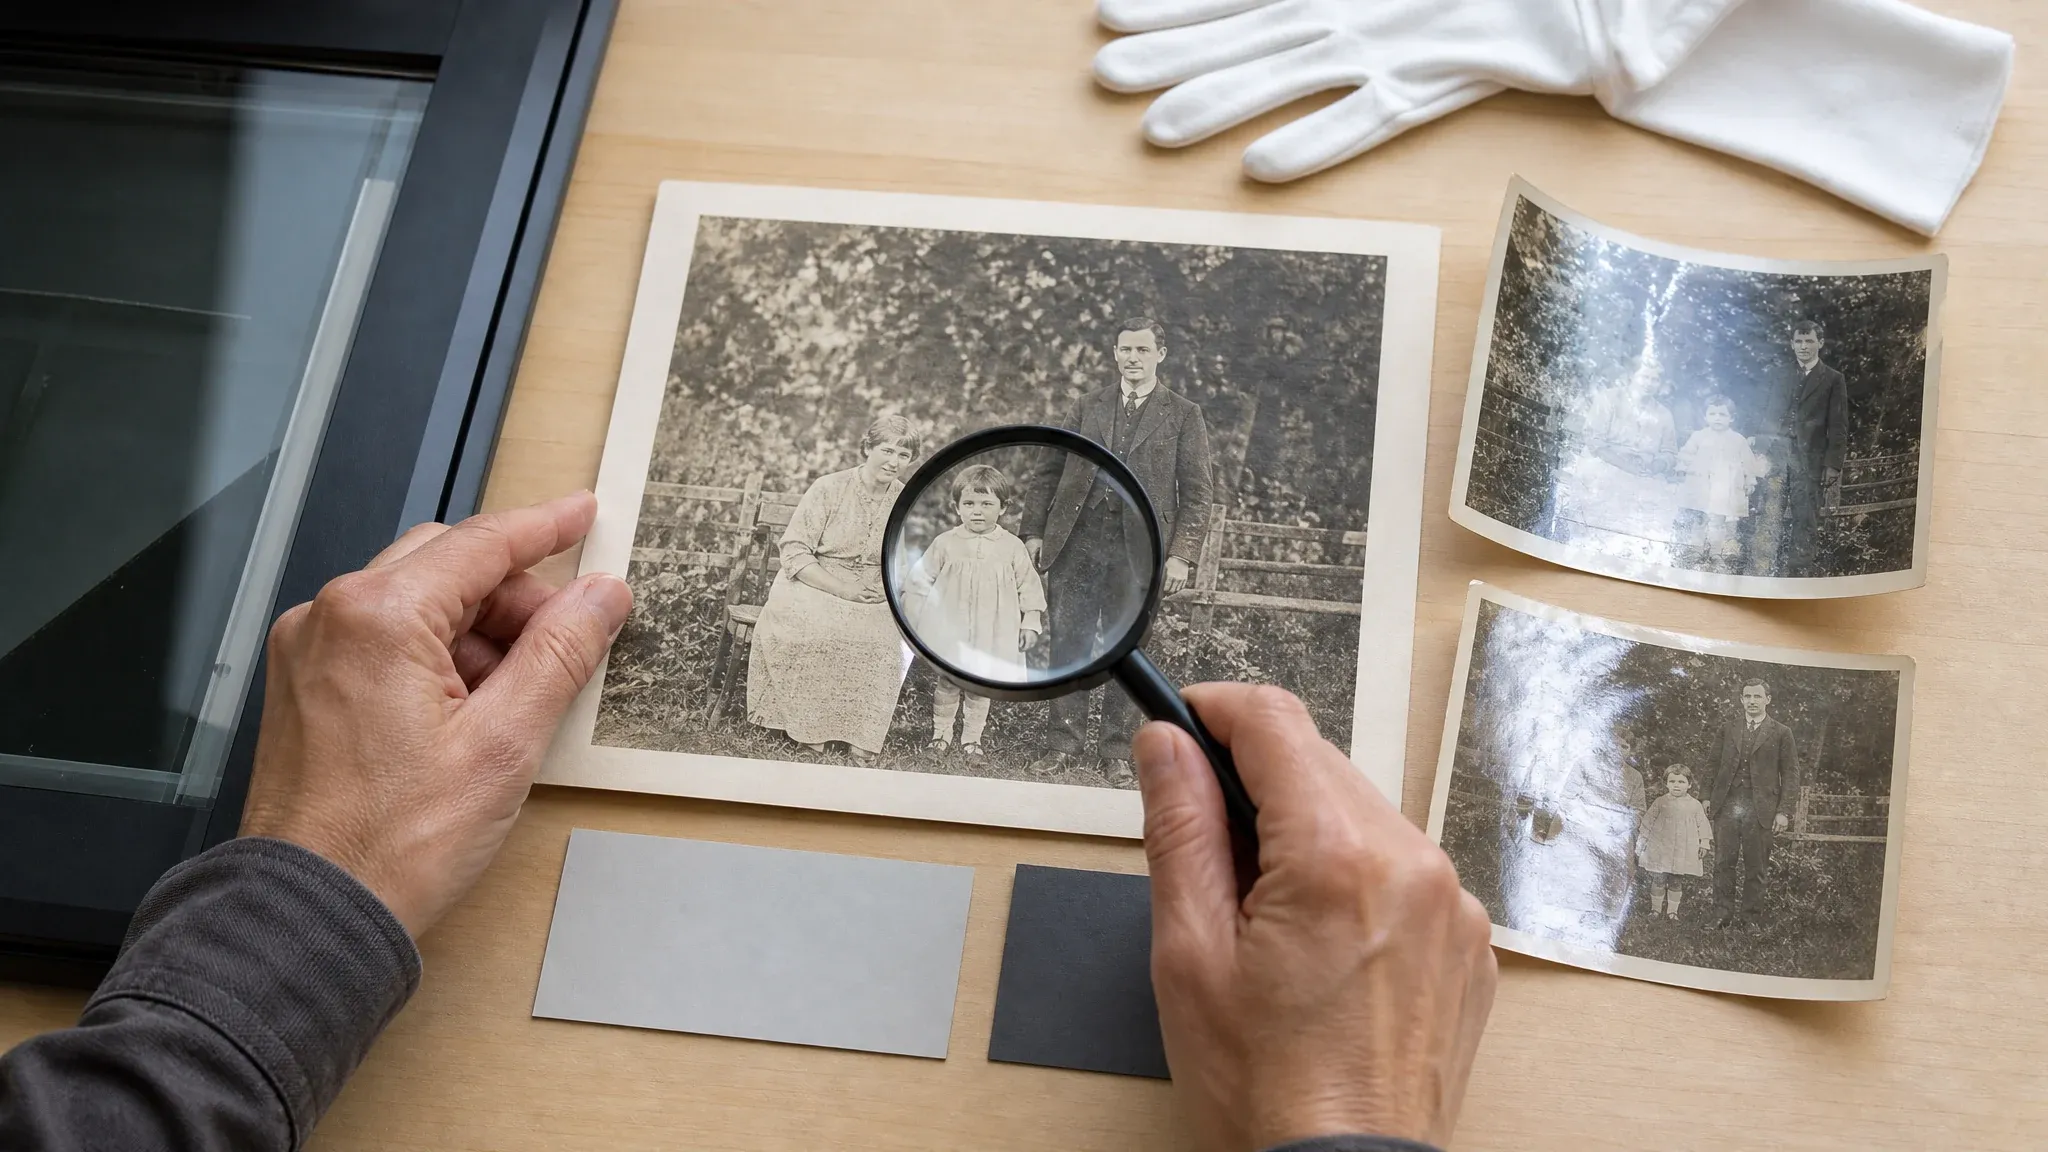
Enhance old-photo clarity before or after colorization when the scan is faded but still readable.
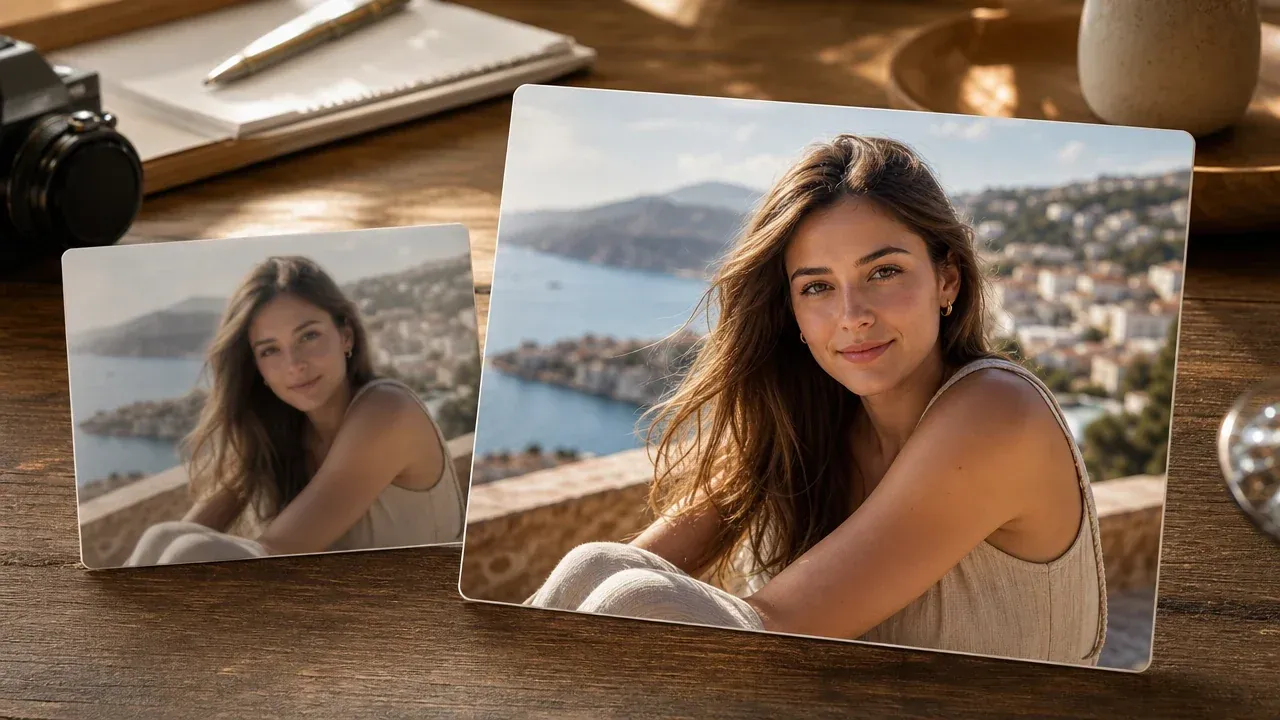
Use the broader enhancer when the main issue is softness, resolution, or compression rather than missing color.
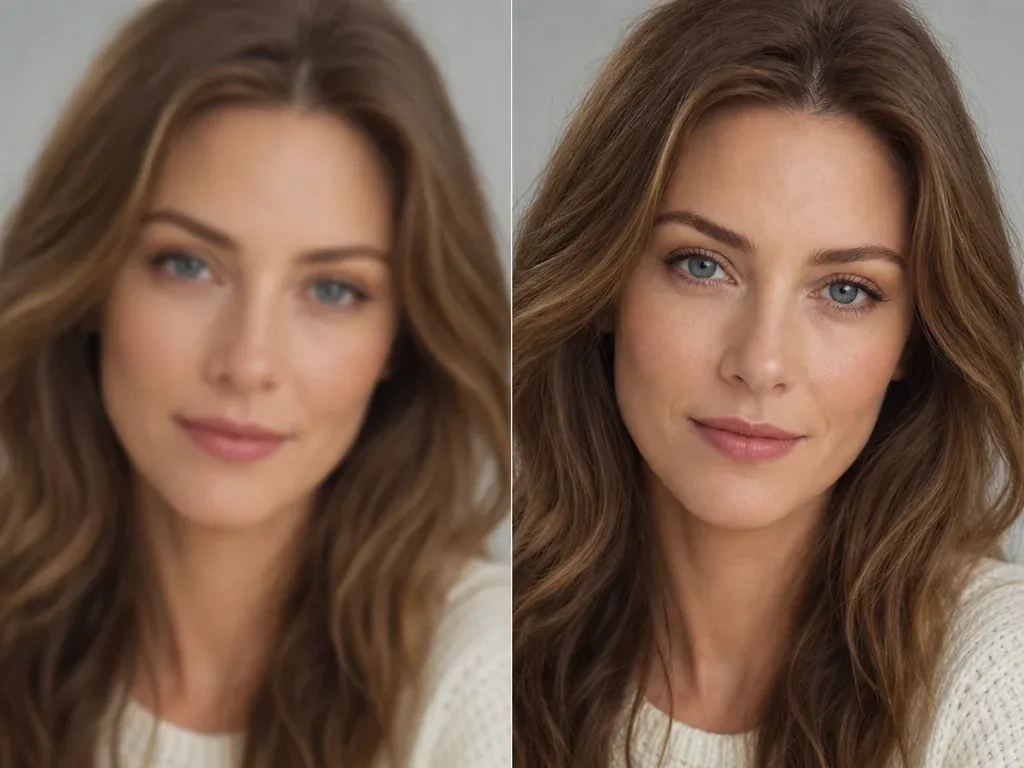
Upscale a colorized result when you need a larger review copy for display or family sharing.
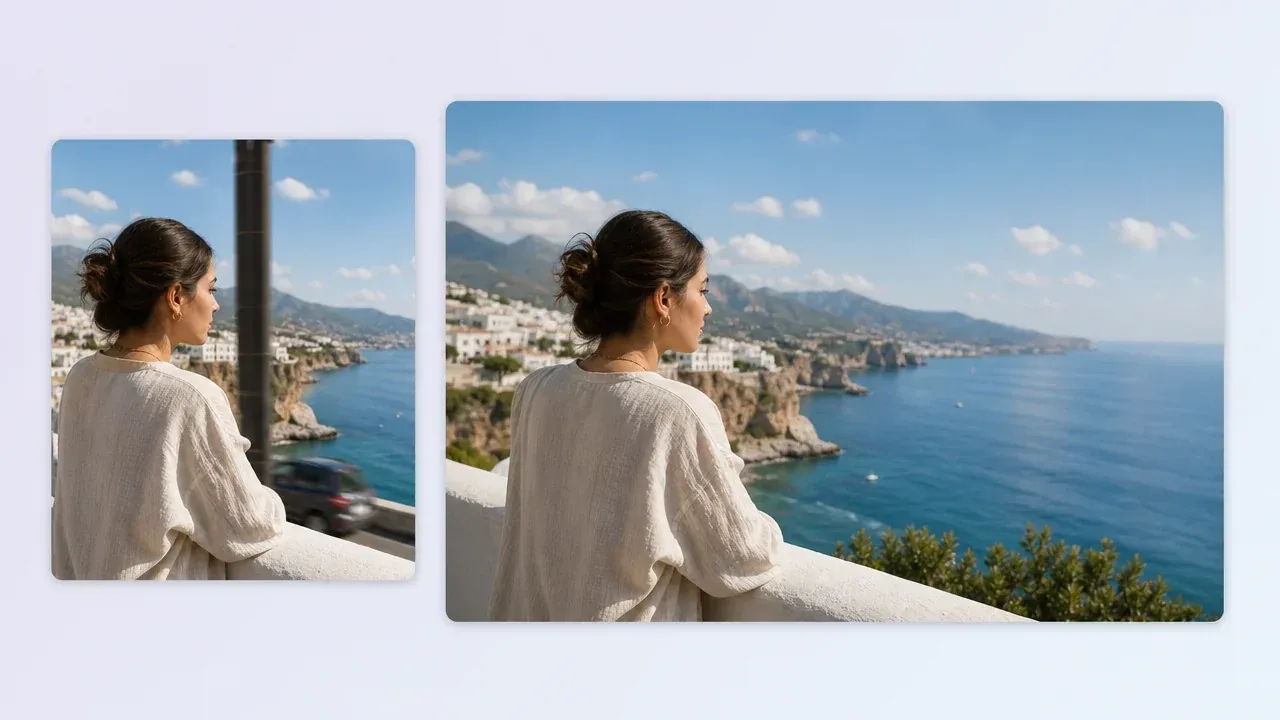
Move to the editor when one visible distraction still needs a focused fix after colorization.
Direct answers about black-and-white photo colorization, source quality, historical accuracy, damage repair, sharing, and next steps.
It takes one black-and-white, sepia, or faded source photo and generates a plausible colorized image for review, download, and sharing.
Upload one source photo, start the colorization task, wait for the result, then inspect the colorized image before downloading.
Use a clear JPG, PNG, or WebP source with visible faces and details. Flat scans and evenly lit phone captures usually work better than angled or glossy photos.
No AI colorizer can verify exact historical colors from a monochrome image alone. Treat the result as a plausible interpretation, not factual archive evidence.
This page adds color to the existing image. Restore scratches, tears, stains, and missing areas before colorizing when those repairs are also needed.
Use extra care. Do not present AI color choices as verified facts, and avoid misleading uses where exact color could change meaning.
Yes. Once the result appears, use the download and share actions, and keep a copy of the original photo for reference.
If the source is very soft, try to prepare the clearest scan first. You can also enhance or upscale the result afterward as a separate step.
Yes. Use photos you own or have permission to process, especially when private family members, public figures, or protected material are visible.
Start with a clear source photo, generate plausible AI color, then inspect and download the result before sharing it.