
Starting point
Ours
Upload one image that already has the subject, crop, and visual direction you want to keep.
Other approaches
Basic resizing can enlarge the file but usually makes pixelation more visible.
Upload a soft photo, choose a 2x or 4x clarity pass, and review a sharper result before download. Use it for product images, portraits, old scans, social assets, and AI drafts that need a cleaner export. No sign-up. No watermark.
Trusted by 12,000,000+ users worldwide.
Keep the workflow simple: choose a source worth saving, pick the scale, then inspect the sharp result before publishing.
Choose a product photo, portrait, scan, social visual, or AI draft with one clear subject and enough detail for the model to read.
Start with 2x for web, thumbnails, and review decks. Try 4x when the source is clean and you need a larger export.
Compare the upscaled result, download it, or move to editor, image-to-image, video, or talking photo when the asset needs another pass.
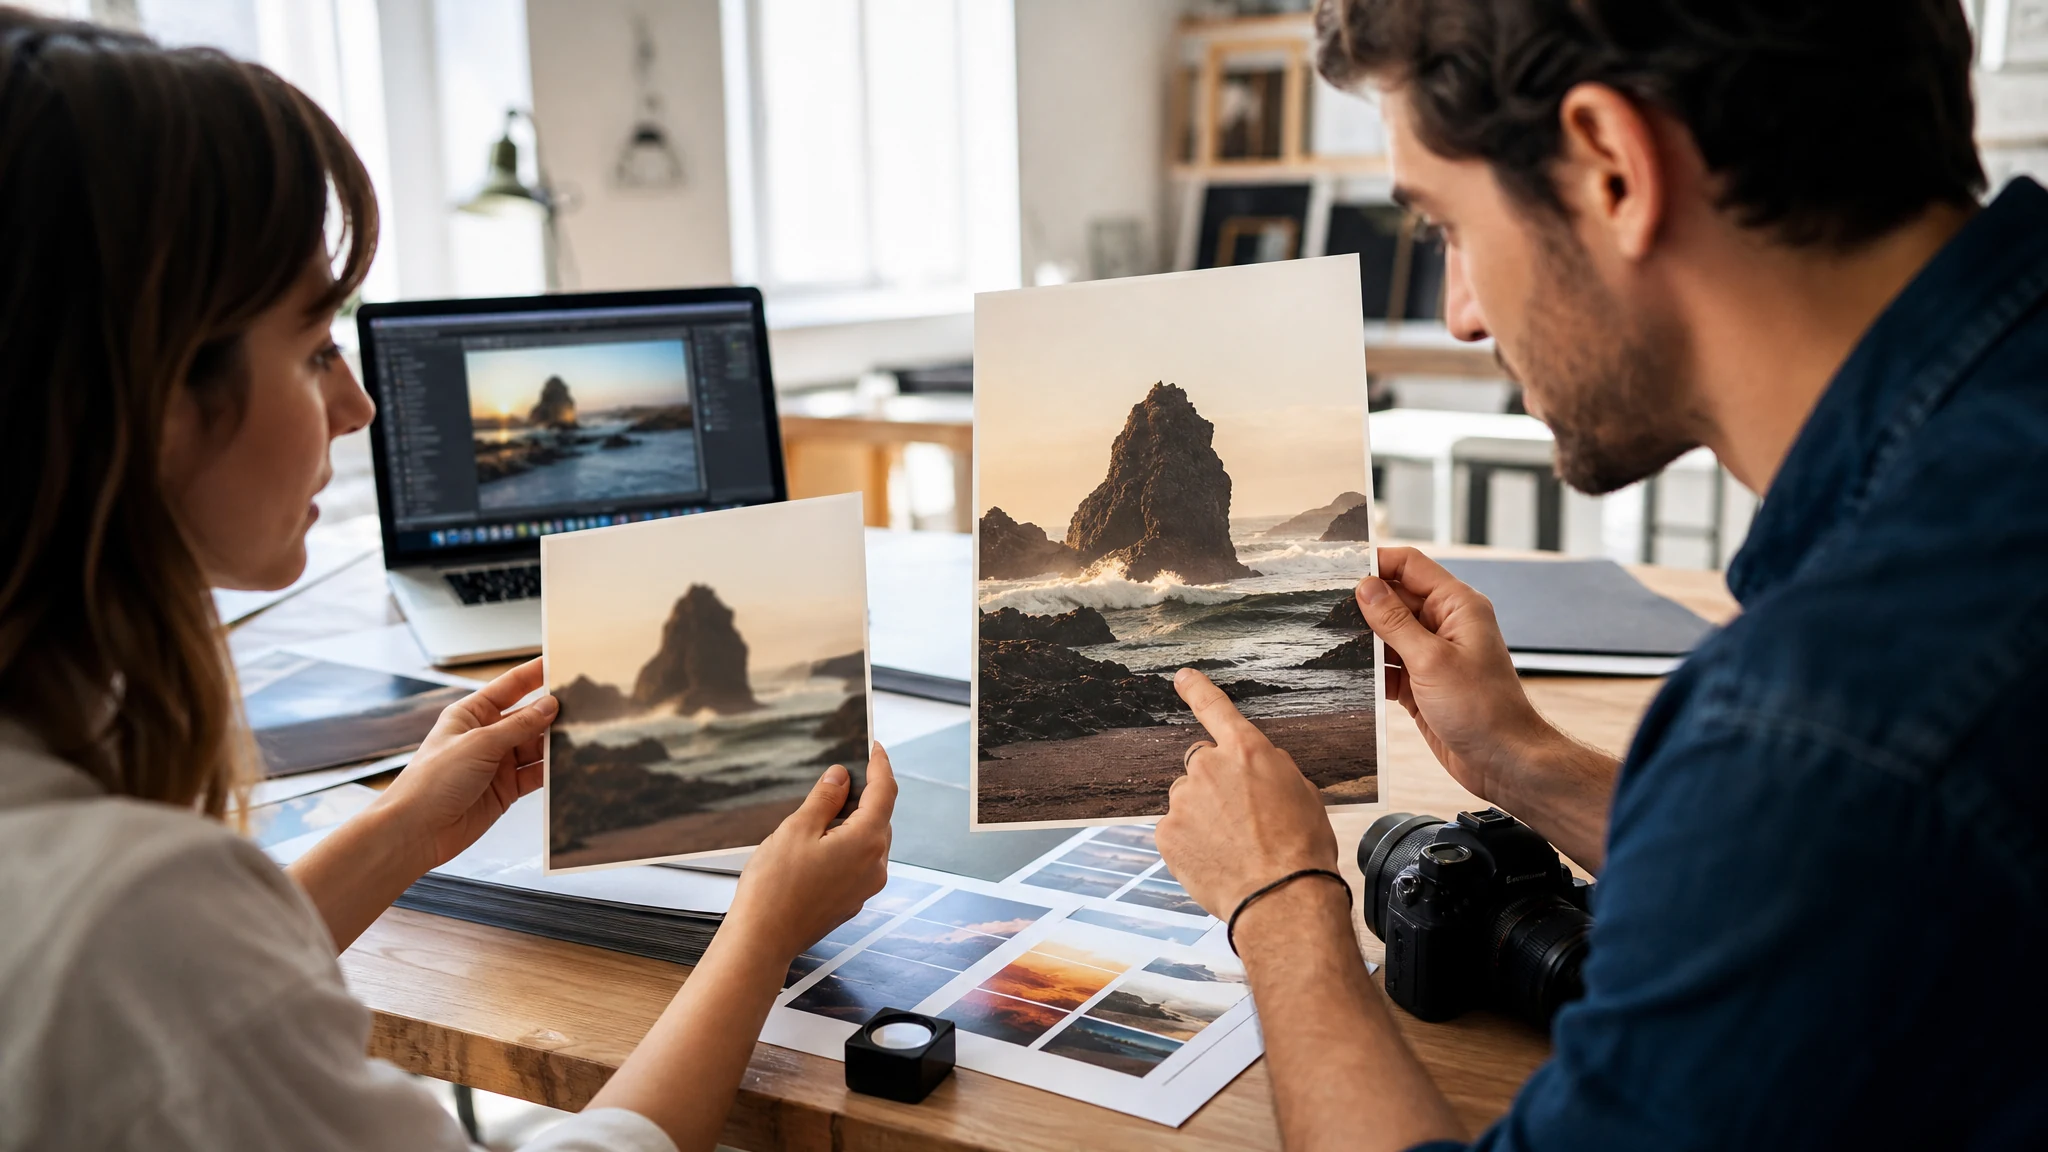
Use the upscaler for five practical jobs: product detail, portrait clarity, old photo recovery, social/design exports, and sharpening AI-generated drafts before the next creative step.
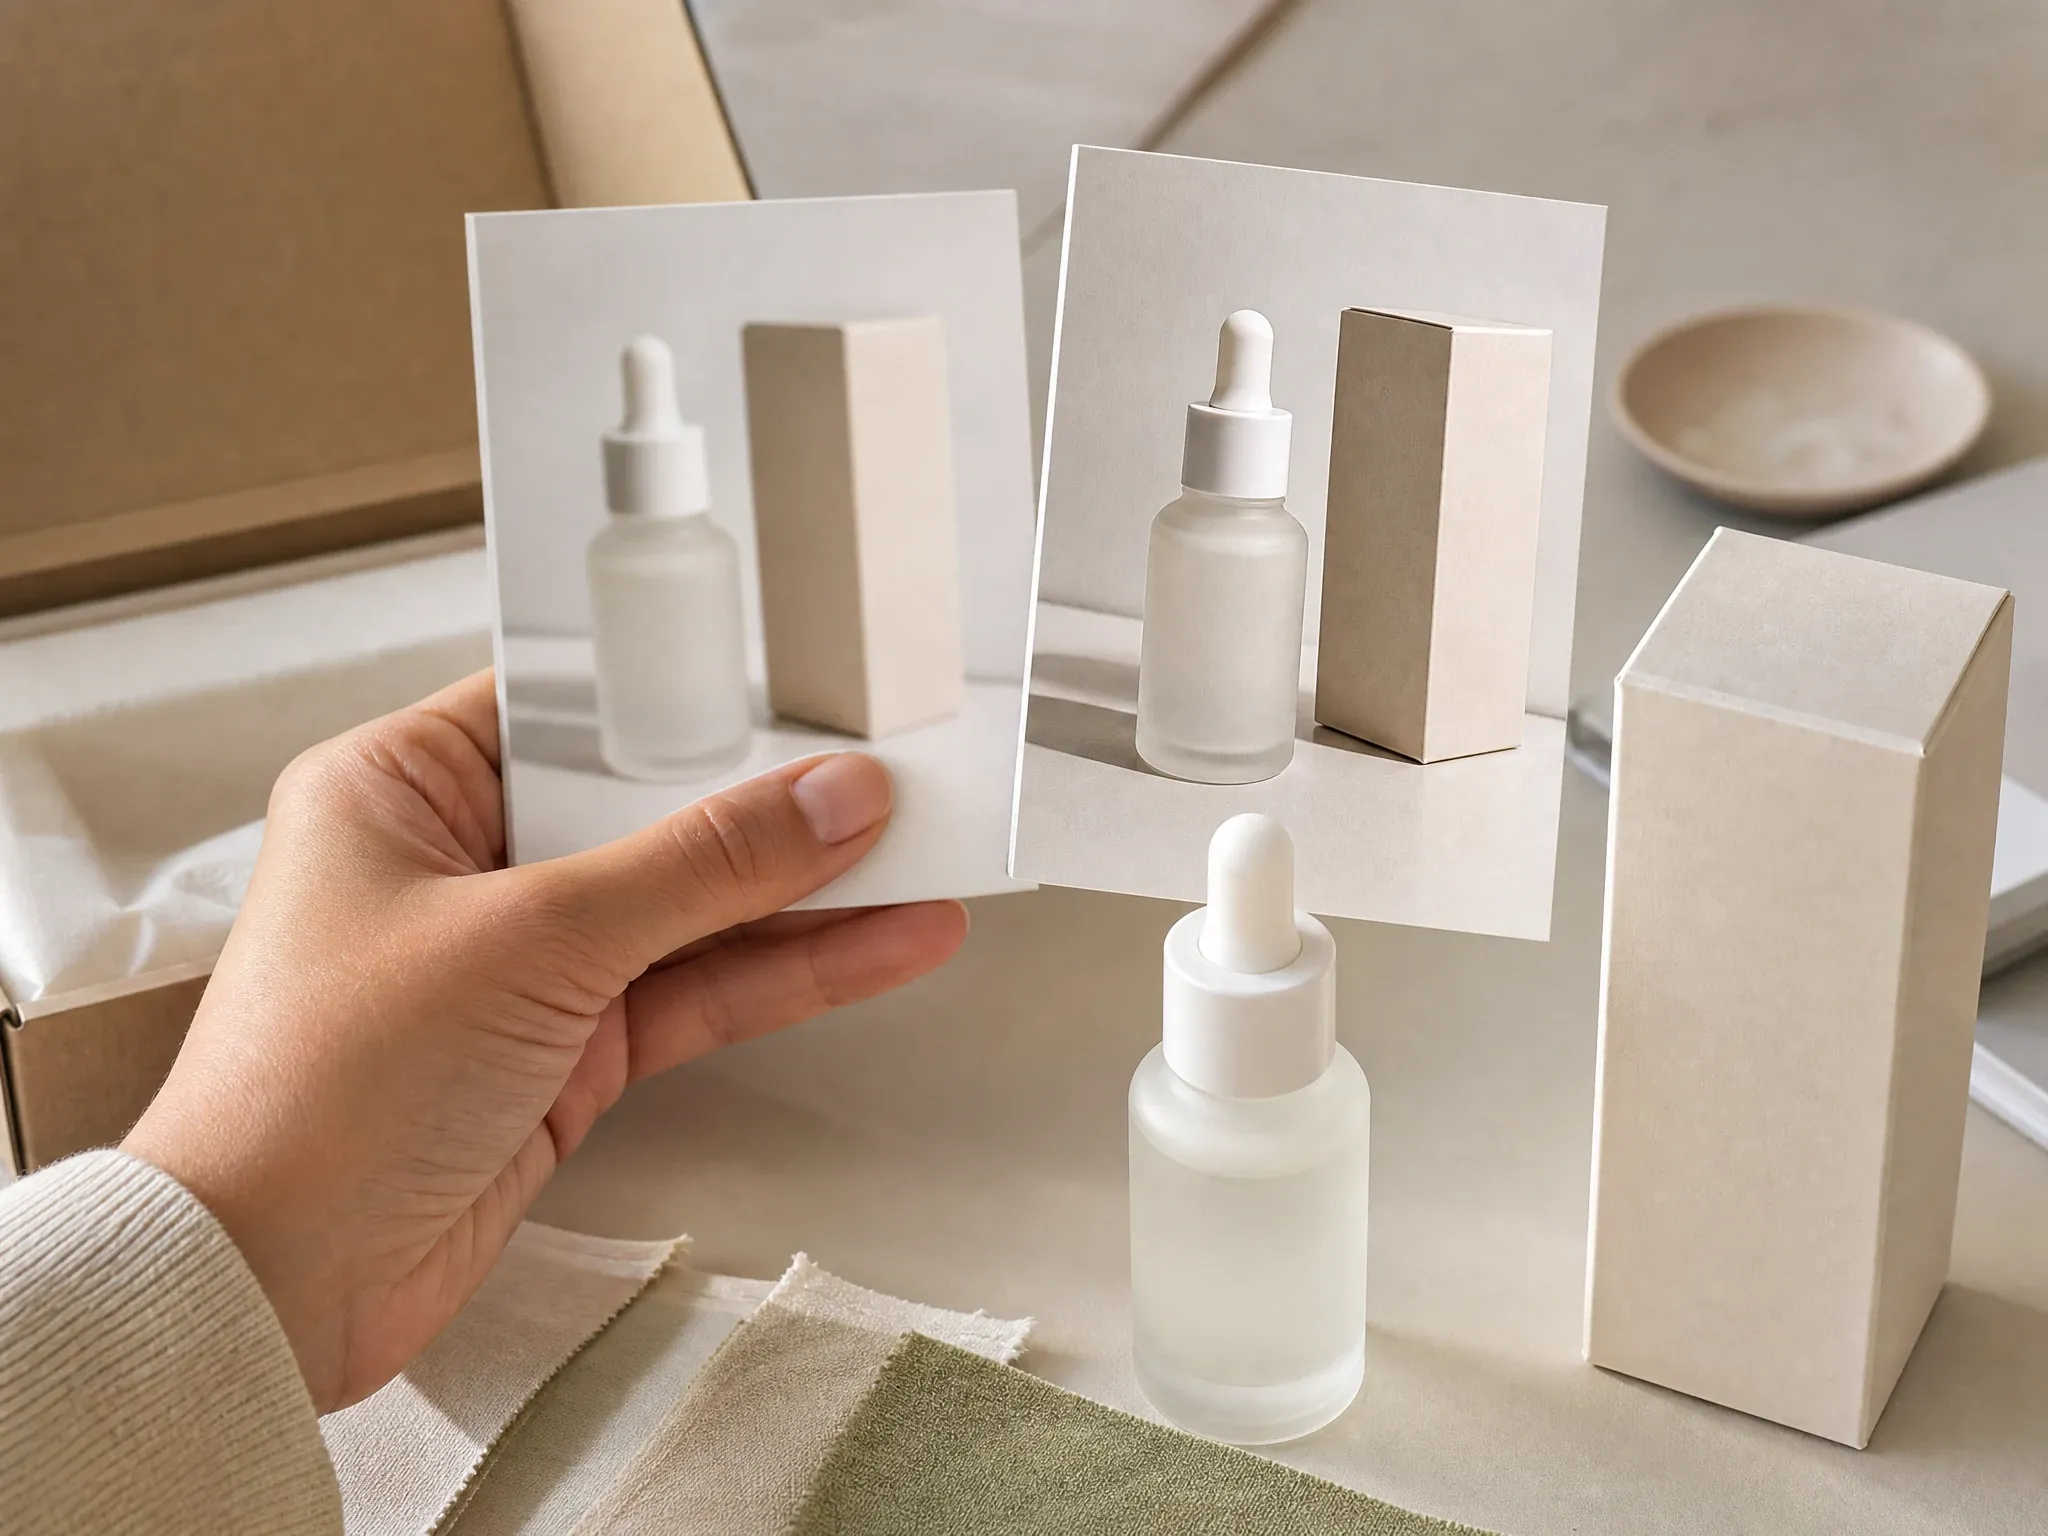
Make small supplier shots, soft pack images, and campaign product drafts easier to inspect before listing, review, or editing. Keep labels and pack edges under human review.
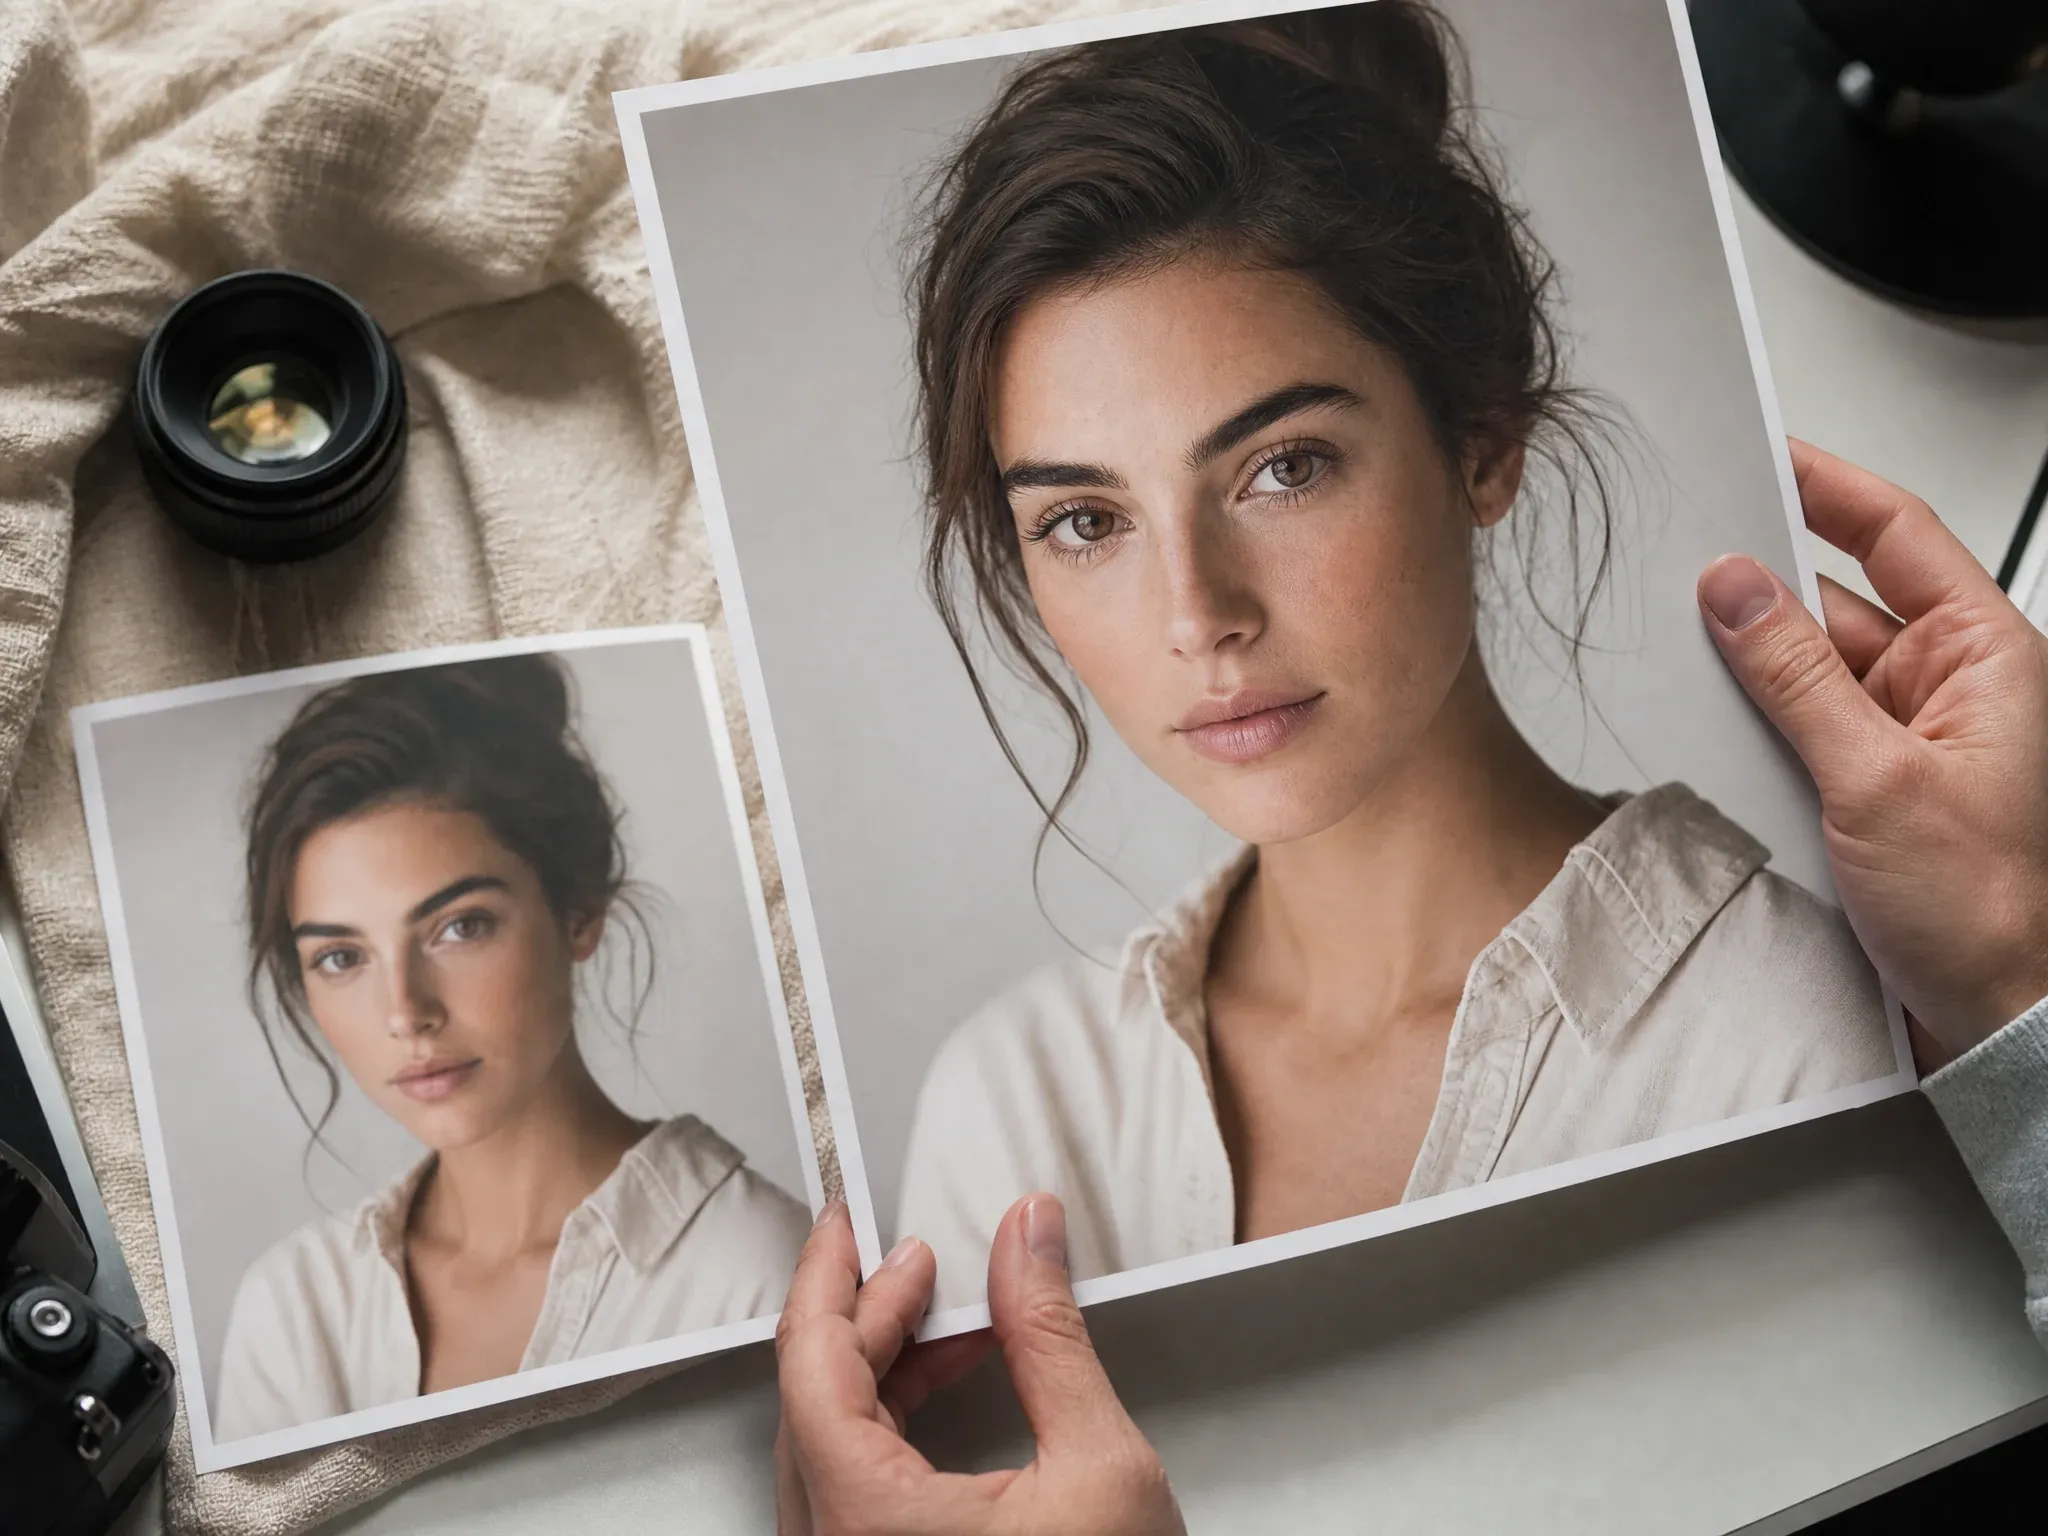
Improve a soft portrait thumbnail before a profile, creator page, or talking-photo workflow. Upscaling can clarify detail, but identity-sensitive faces still need careful inspection.
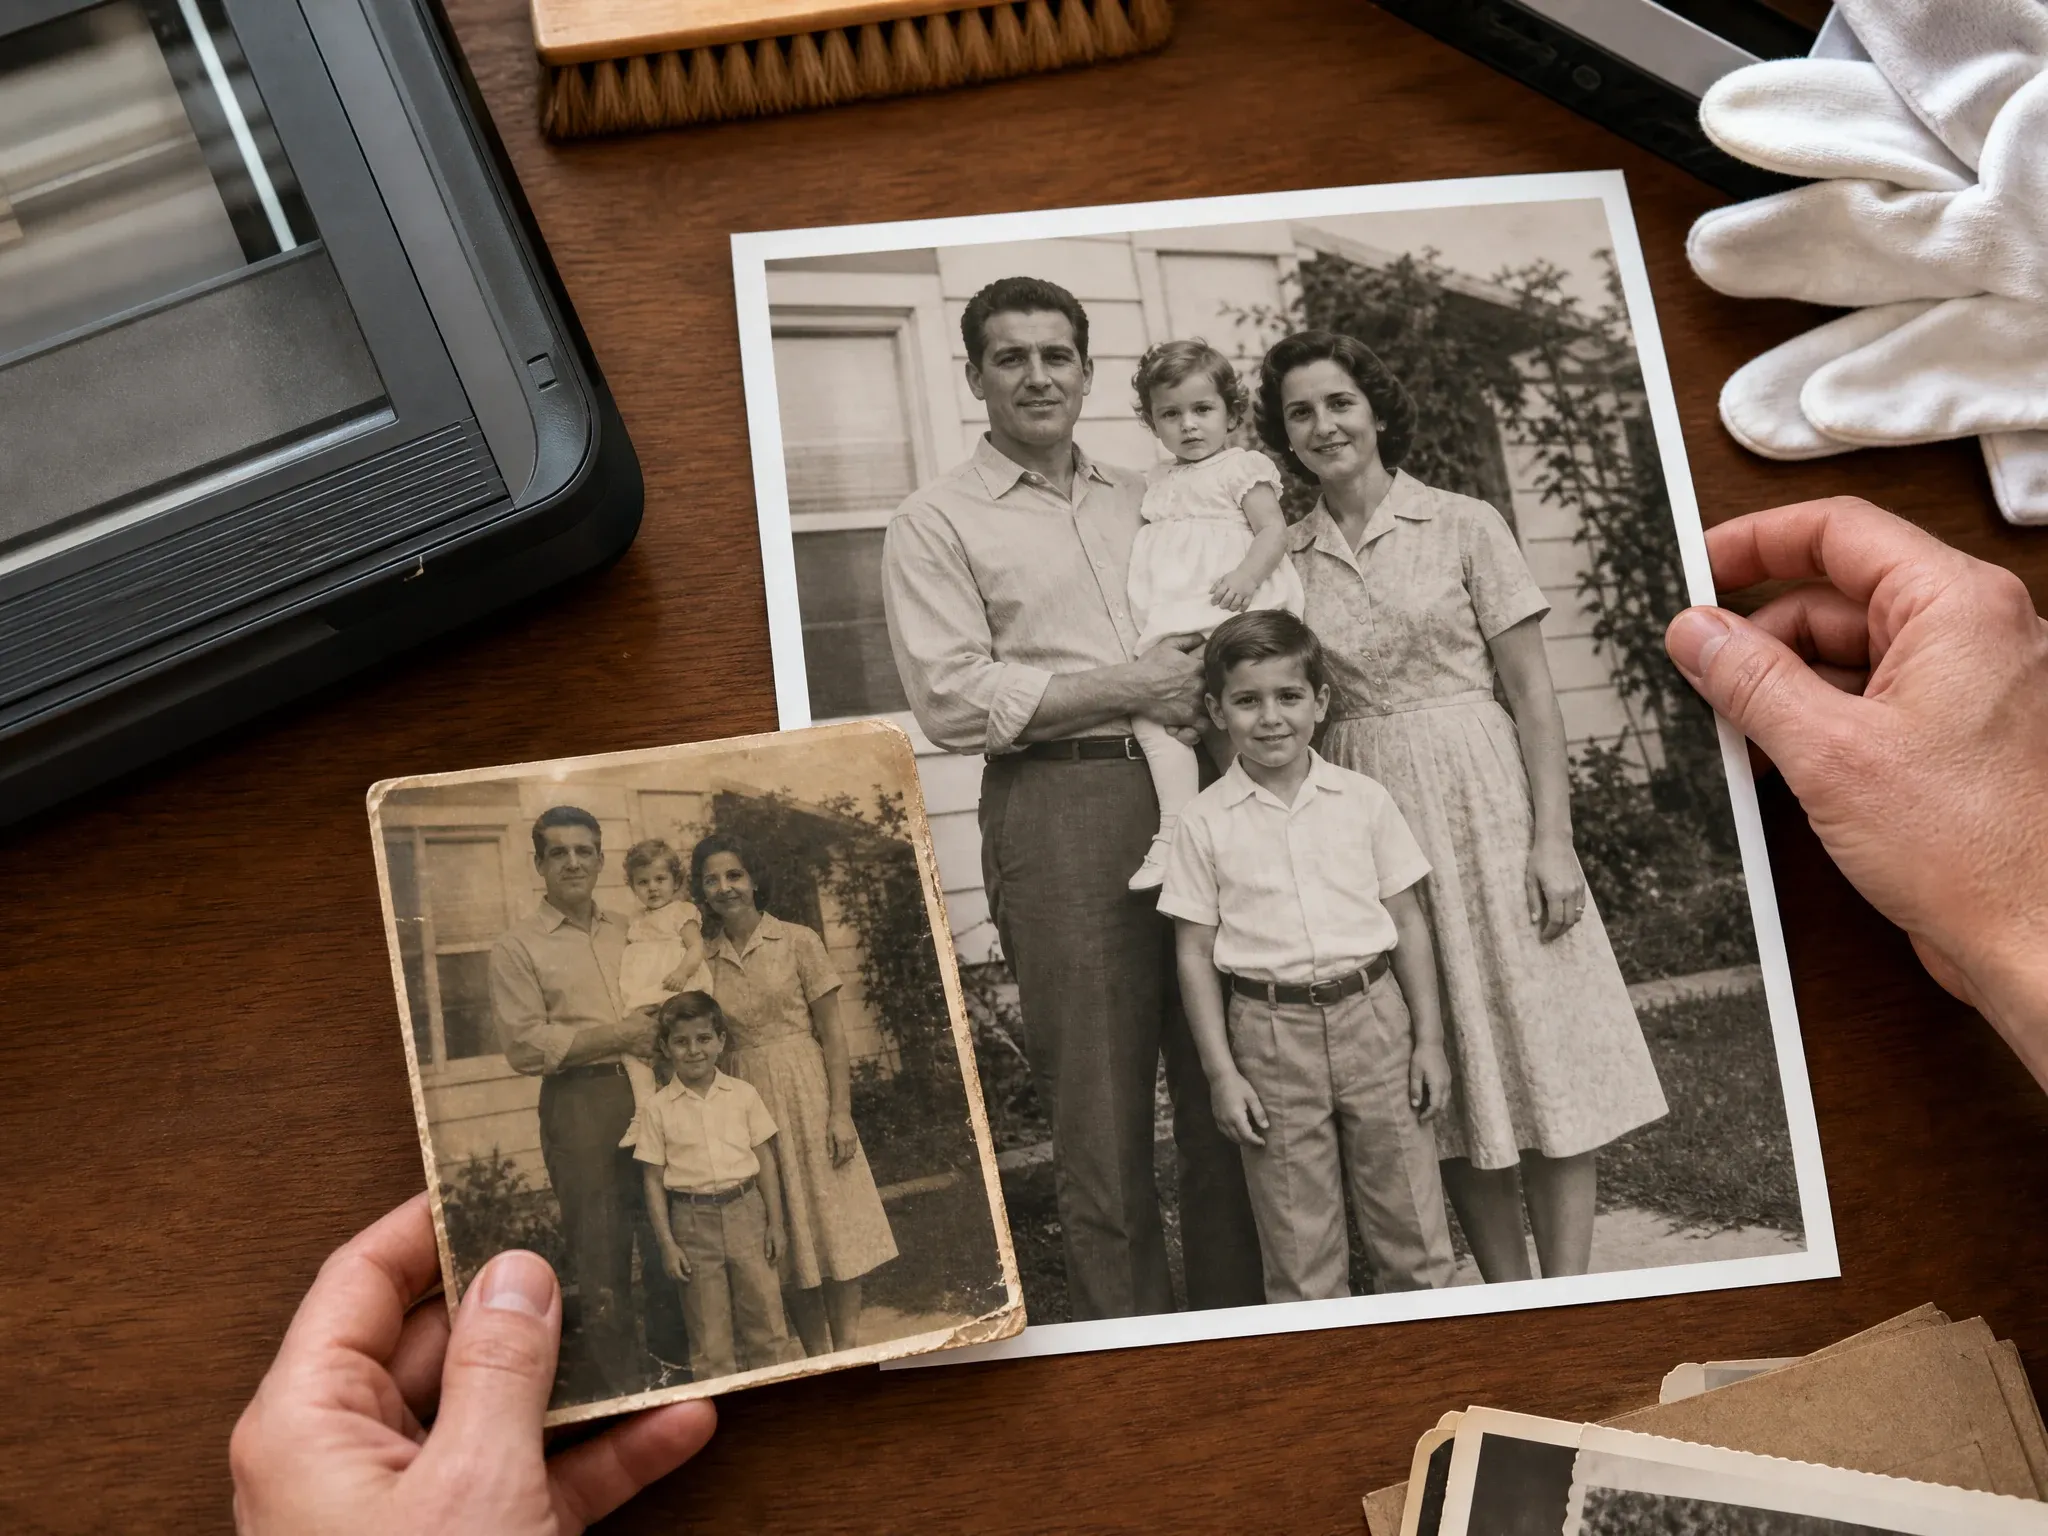
Prepare archive photos for sharing, display, or family review. Use the clearest scan you have and check faces, clothing, and background details after the clarity pass.
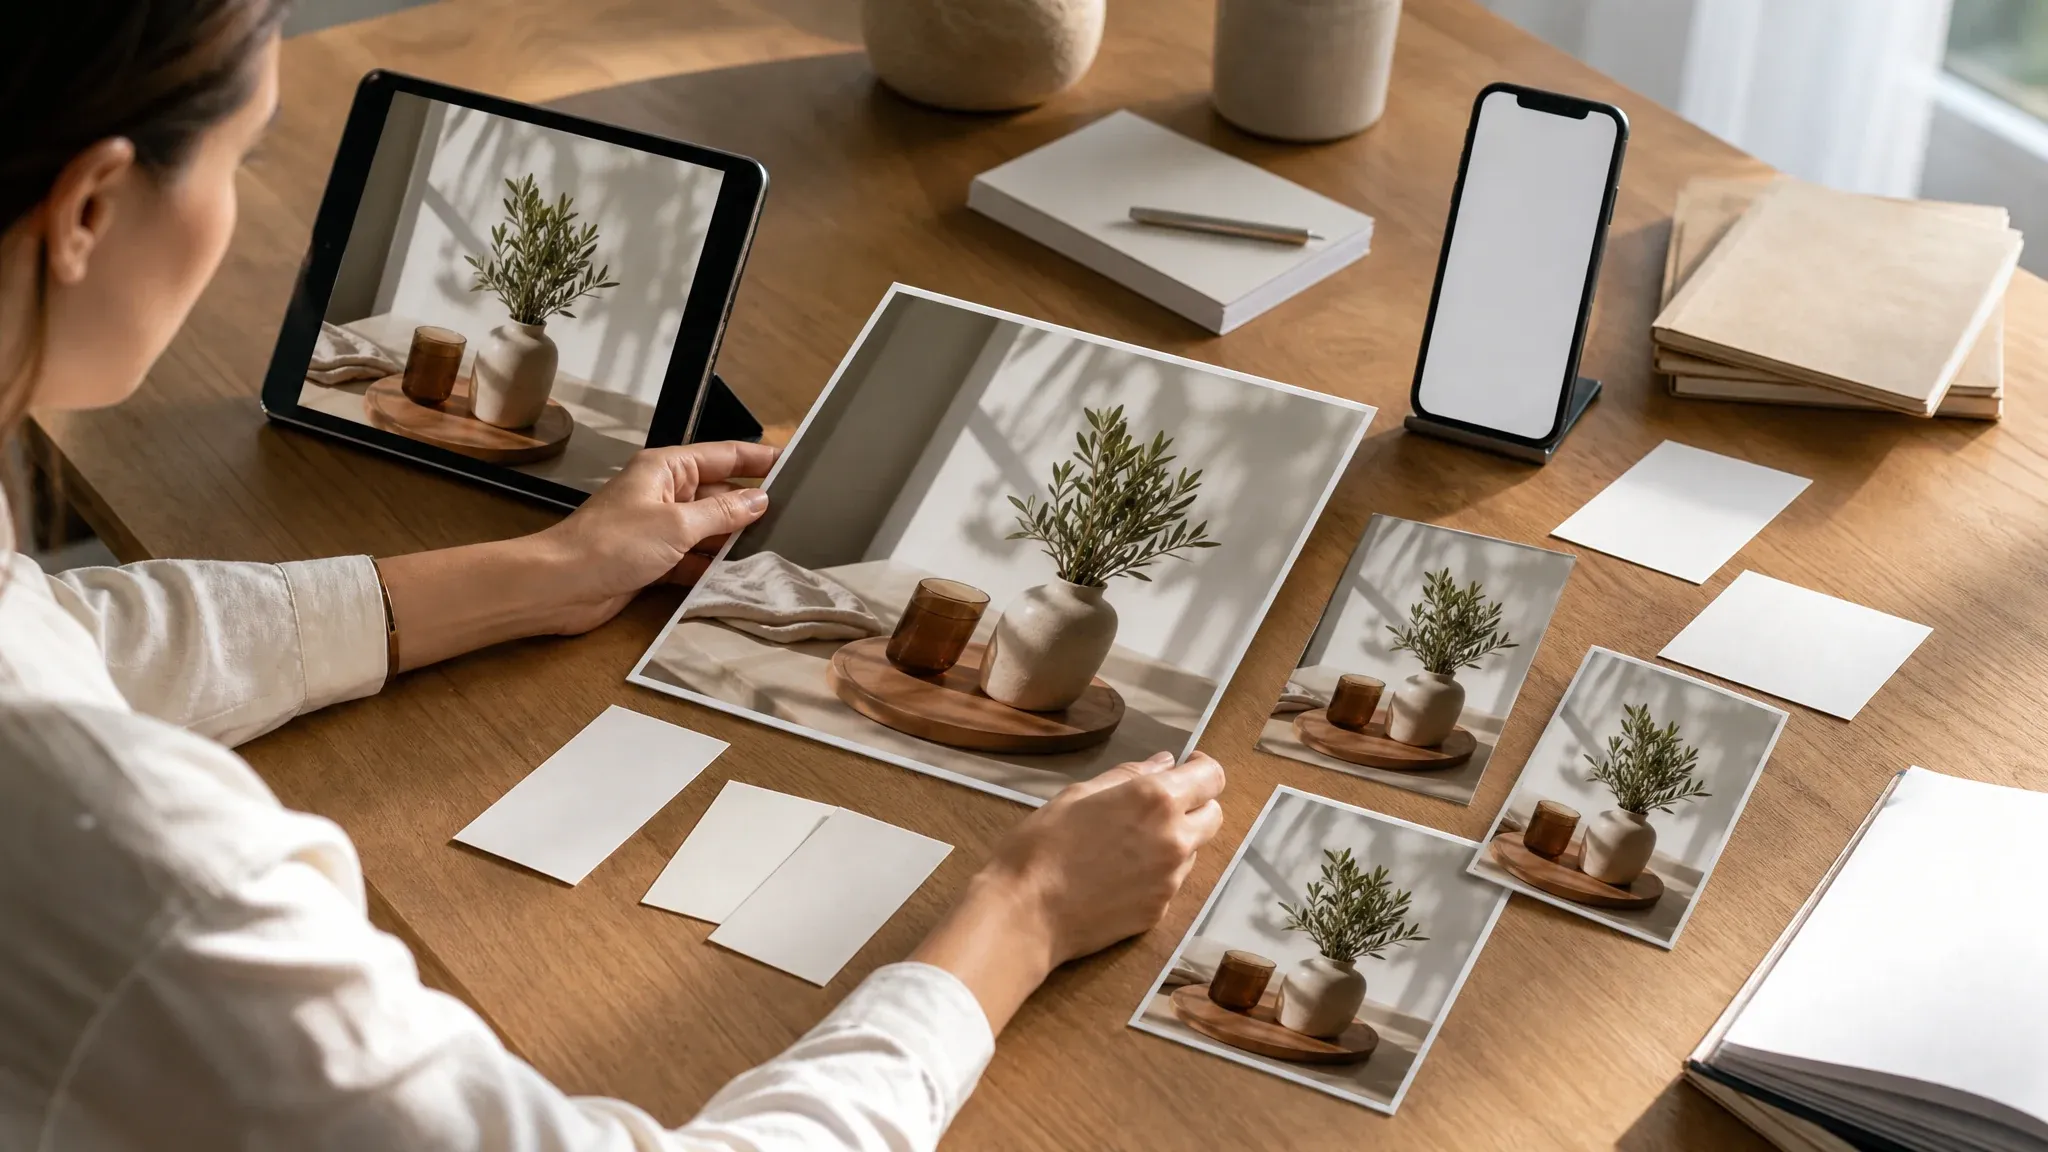
Turn a small approved visual into a cleaner image for thumbnails, slide decks, blog covers, and campaign layouts before adding final typography elsewhere.
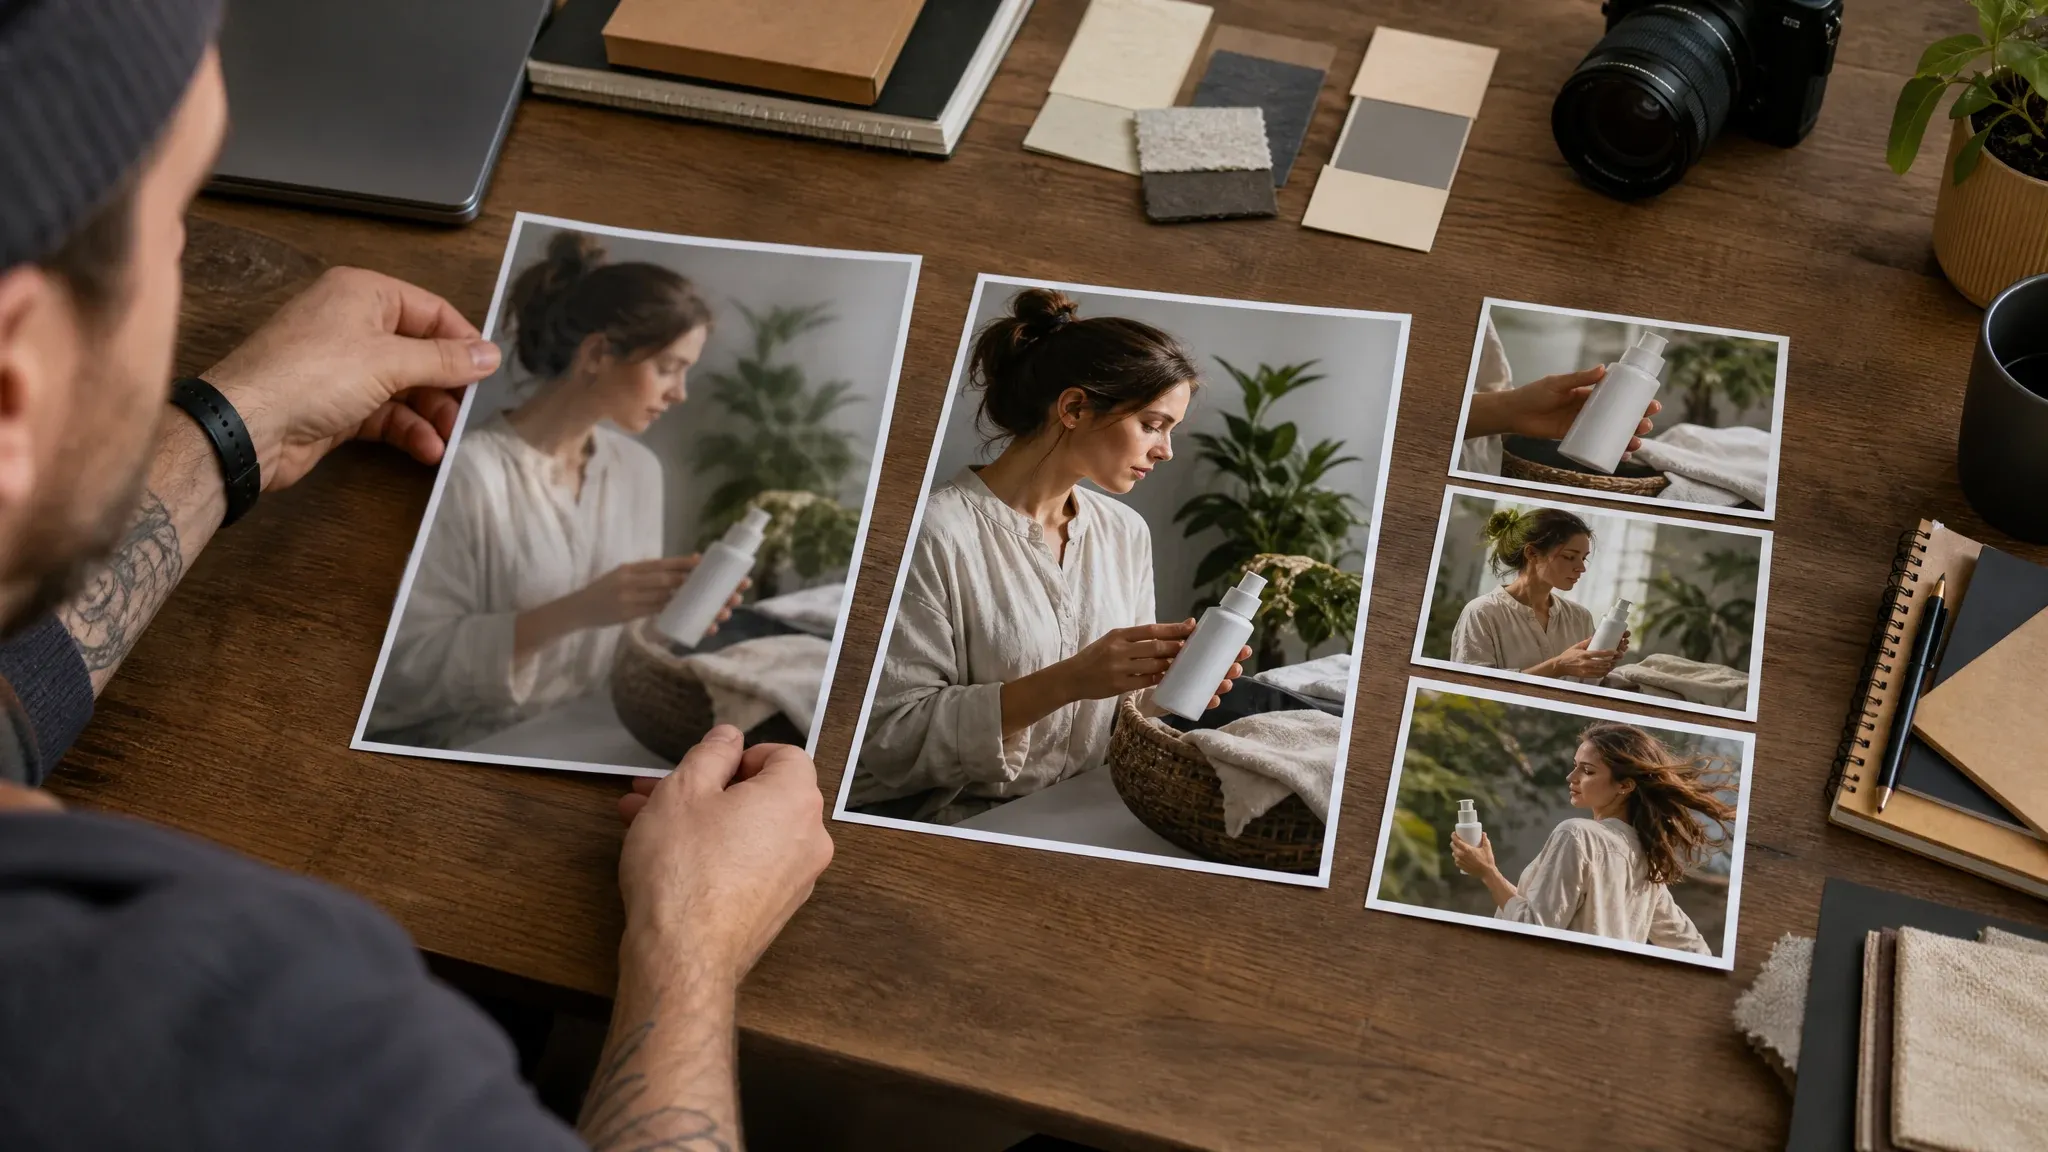
When the generated image has the right mood but a soft finish, upscale it before the editor, image-to-image, video generator, or talking photo handoff.
An AI image upscaler increases image resolution and reconstructs sharper-looking detail from the source image. It is different from ordinary resizing because it uses image context instead of only stretching pixels.
The tool increases pixel dimensions while sharpening edges, texture, and visible structure where the source gives enough information.
Upscaling is a clarity step, not a restyle. The crop and basic framing should stay familiar even though fine details may shift.
Use it after the image direction is worth keeping. If the subject, pose, or background is wrong, fix that before upscaling.
The page keeps the actual upscaler first, then gives you the next creative choices around it. That matters when upscaling is only one step in a larger FaceAI workflow.
You can upload and test the image before reading the whole page. People came for an upscaler, so the workspace comes first.
Generated, edited, source-guided, and portrait assets can all move through upscaling when the frame is right but the export is soft.
The workbench keeps the decision simple: 2x for a safe clarity pass, 4x when the source is clean enough for larger use.
Extreme blur, tiny text, exact logos, and identity-sensitive faces still need human review. That honesty saves bad publishes.
The source image decides most of the result. Upscaling can improve a usable file; it cannot invent a perfect photo from nothing.
Try the upscalerA small sharp image is better than a large blurry one. Avoid screenshots with heavy compression when you have the original file.
A lighter pass is easier to inspect. If it looks natural, try 4x for a bigger export.
Faces, hands, product labels, logos, jewelry, teeth, and dense textures can change subtly after upscaling.
If the sharper result exposes a bad background, stray object, or lighting issue, move it into AI Image Editor for one focused fix.
Use this table to pick the right workflow. Upscaling is best when the image is already close and the main issue is soft resolution.
| Criteria | Face AIOurs 2x and 4x clarity workflow | Other approaches |
|---|---|---|
| Starting point | Upload one image that already has the subject, crop, and visual direction you want to keep. | Basic resizing can enlarge the file but usually makes pixelation more visible. |
| Best use | Product photos, portraits, old scans, social exports, presentation visuals, and AI drafts that need a sharper finish. | Photo editors are better when the problem is color, background, object cleanup, or layout. |
| Scale control | Choose a practical 2x or 4x pass in the workbench. | Some tools promote very high multipliers that may create artifacts on weak sources. |
| Composition | The crop and overall frame are meant to stay stable while the export becomes clearer. | Image-to-image tools can change style, subject, lighting, and background more heavily. |
| Exact text, logos, and identity | Needs inspection after processing; add critical typography or brand marks in a controlled design tool. | Many pages make quality sound absolute even when tiny details can drift. |
| Next step | Move the sharper image to editor, image-to-image, video generator, or talking photo when the brief continues. | One-shot upscalers often stop at download without guiding the next creative move. |
| Rights boundary | You still need rights to the source image, products, people, logos, and any protected material inside it. | Broad commercial-use claims can hide the source-rights problem. |
Upload one image that already has the subject, crop, and visual direction you want to keep.
Basic resizing can enlarge the file but usually makes pixelation more visible.
Product photos, portraits, old scans, social exports, presentation visuals, and AI drafts that need a sharper finish.
Photo editors are better when the problem is color, background, object cleanup, or layout.
Choose a practical 2x or 4x pass in the workbench.
Some tools promote very high multipliers that may create artifacts on weak sources.
The crop and overall frame are meant to stay stable while the export becomes clearer.
Image-to-image tools can change style, subject, lighting, and background more heavily.
Needs inspection after processing; add critical typography or brand marks in a controlled design tool.
Many pages make quality sound absolute even when tiny details can drift.
Move the sharper image to editor, image-to-image, video generator, or talking photo when the brief continues.
One-shot upscalers often stop at download without guiding the next creative move.
You still need rights to the source image, products, people, logos, and any protected material inside it.
Broad commercial-use claims can hide the source-rights problem.
These comments focus on the actual loop: upload a source worth keeping, choose a scale, inspect hard details, then download or send the image to the next FaceAI tool.
"This is the pass I run when a good image still feels too soft for review."

Mei Chen
E-commerce Director
"Supplier product shots often arrive small and dull. Upscaling gives my team a cleaner version to judge before we decide whether a reshoot is worth it."

Soyeon Kim
VP of Online Retail
"The best results came from photos that were small but already readable. It is not a magic rescue button for total motion blur, and I like that the workflow makes that obvious."

James Whitfield
Creative Director
"I use it after the image direction is approved. First make the concept right, then upscale the file so the review deck does not look fuzzy."

Sneha Krishnan
Head of Product Marketing
"Good for turning a soft draft into something I can actually show in a social layout."

Zara Davis
Social Media Director
"Old scans look easier to share after a clarity pass. I still check faces by eye, but the bigger print preview helps a lot."

Emma Johansson
Head of Content Strategy
"This is the pass I run when a good image still feels too soft for review."
Mei Chen
E-commerce Director
"Supplier product shots often arrive small and dull. Upscaling gives my team a cleaner version to judge before we decide whether a reshoot is worth it."
Soyeon Kim
VP of Online Retail
"The best results came from photos that were small but already readable. It is not a magic rescue button for total motion blur, and I like that the workflow makes that obvious."
James Whitfield
Creative Director
"I use it after the image direction is approved. First make the concept right, then upscale the file so the review deck does not look fuzzy."
Sneha Krishnan
Head of Product Marketing
"Good for turning a soft draft into something I can actually show in a social layout."
Zara Davis
Social Media Director
"Old scans look easier to share after a clarity pass. I still check faces by eye, but the bigger print preview helps a lot."
Emma Johansson
Head of Content Strategy
"My favorite part is the handoff. Generate or edit first, then upscale only when the frame is worth keeping."

Marcus Johnson
Performance Marketing Manager
"This is the pass I run when a good image still feels too soft for review."
Mei Chen
E-commerce Director
"Supplier product shots often arrive small and dull. Upscaling gives my team a cleaner version to judge before we decide whether a reshoot is worth it."
Soyeon Kim
VP of Online Retail
"The best results came from photos that were small but already readable. It is not a magic rescue button for total motion blur, and I like that the workflow makes that obvious."
James Whitfield
Creative Director
"I use it after the image direction is approved. First make the concept right, then upscale the file so the review deck does not look fuzzy."
Sneha Krishnan
Head of Product Marketing
"Good for turning a soft draft into something I can actually show in a social layout."
Zara Davis
Social Media Director
"Old scans look easier to share after a clarity pass. I still check faces by eye, but the bigger print preview helps a lot."
Emma Johansson
Head of Content Strategy
"My favorite part is the handoff. Generate or edit first, then upscale only when the frame is worth keeping."
Marcus Johnson
Performance Marketing Manager
"Product edges matter. I run a 2x pass first, inspect the pack outline, and only push harder when the source photo can handle it."

Kwesi Mensah
E-commerce Director
"It keeps the page from feeling like a toy. Upload, choose the scale, compare the result, and keep moving."

Priya Sharma
Product Marketing Manager
"We used to drop slightly blurry draft images into decks and apologize for them. Now the image gets a quick clarity pass before the team sees it."

Ingrid Lund
Blog & SEO Director
"Portrait thumbnails look cleaner after upscaling, but I still check eyes, teeth, and hair before publishing. That extra inspection step is worth keeping."

Camila Lopez
Influencer Partnerships Lead
"The workflow feels practical: do not promise impossible reconstruction, just make a good source more usable. For launch images, that is exactly the gap we need filled."

Anisha Patel
Brand Director
"I like it for blog covers and presentation visuals where stock exports are too small. The result feels cleaner on a big screen without reopening the whole design job."

Sophia Wagner
Editorial Director
"AI-generated drafts often have the right mood but a soft finish. Upscaling gives the approved direction a sharper final pass before editing or motion tests."

Ken Watanabe
SEM Specialist
"Product edges matter. I run a 2x pass first, inspect the pack outline, and only push harder when the source photo can handle it."
Kwesi Mensah
E-commerce Director
"It keeps the page from feeling like a toy. Upload, choose the scale, compare the result, and keep moving."
Priya Sharma
Product Marketing Manager
"We used to drop slightly blurry draft images into decks and apologize for them. Now the image gets a quick clarity pass before the team sees it."
Ingrid Lund
Blog & SEO Director
"Portrait thumbnails look cleaner after upscaling, but I still check eyes, teeth, and hair before publishing. That extra inspection step is worth keeping."
Camila Lopez
Influencer Partnerships Lead
"The workflow feels practical: do not promise impossible reconstruction, just make a good source more usable. For launch images, that is exactly the gap we need filled."
Anisha Patel
Brand Director
"I like it for blog covers and presentation visuals where stock exports are too small. The result feels cleaner on a big screen without reopening the whole design job."
Sophia Wagner
Editorial Director
"AI-generated drafts often have the right mood but a soft finish. Upscaling gives the approved direction a sharper final pass before editing or motion tests."
Ken Watanabe
SEM Specialist
Pick the next tool based on what the image still needs: a new source, a broader restyle, a focused fix, motion, or a speaking portrait.

Start from text when you do not have an image worth upscaling yet, then bring the strongest draft here.
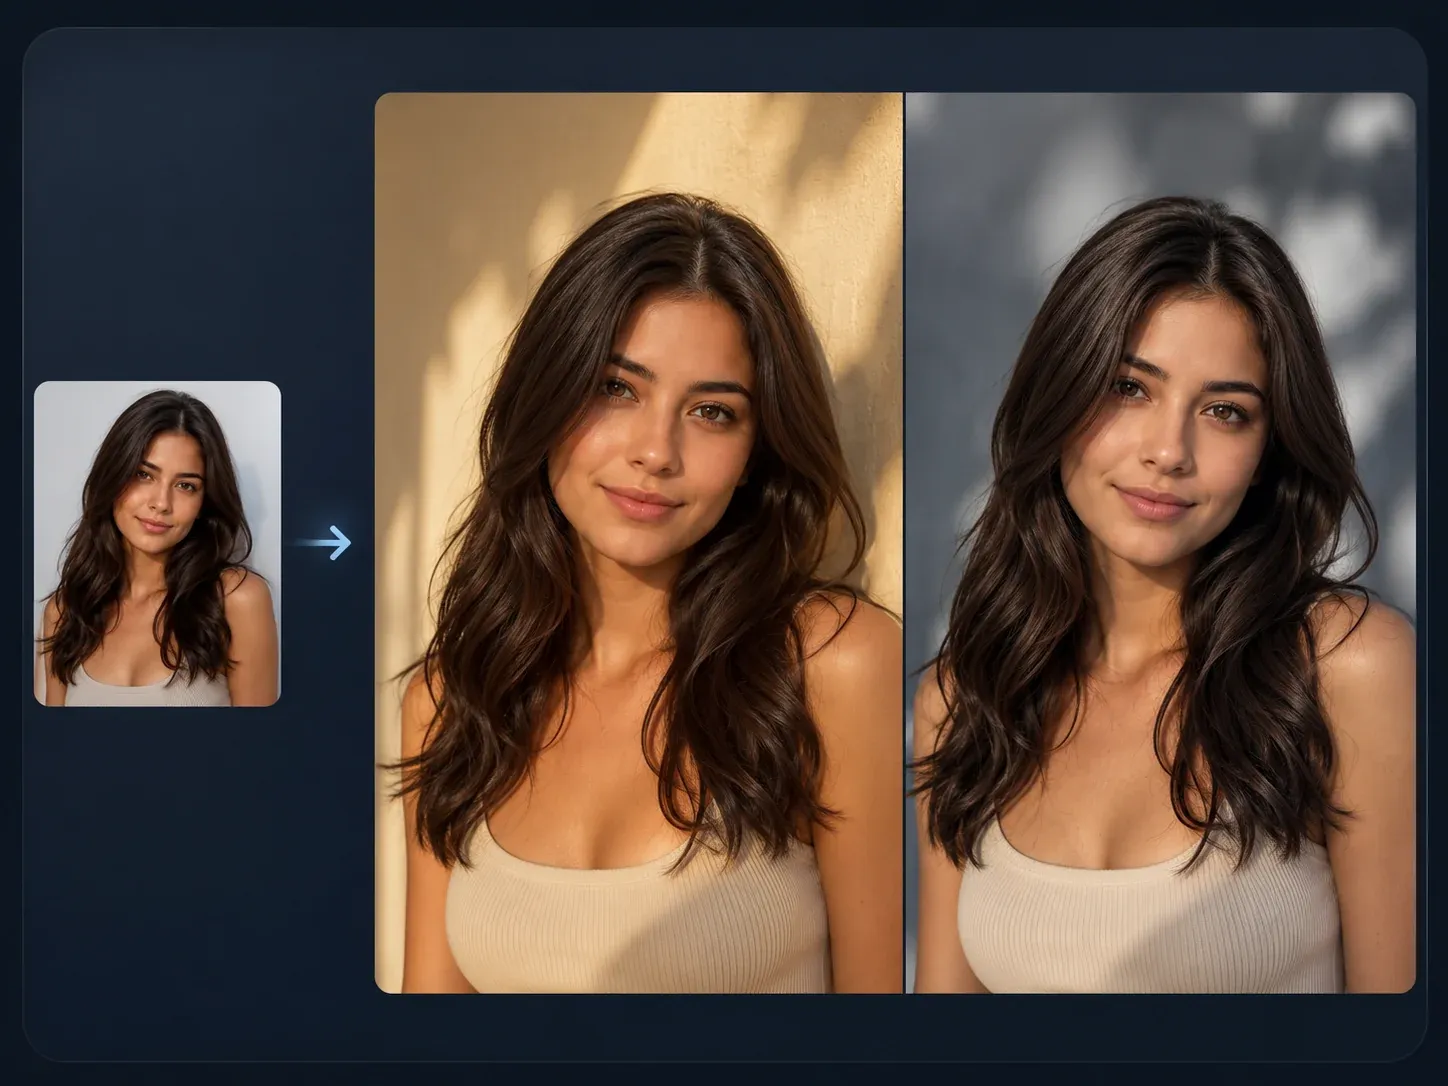
Use source-guided variation when the image needs a new style or background before the final clarity pass.
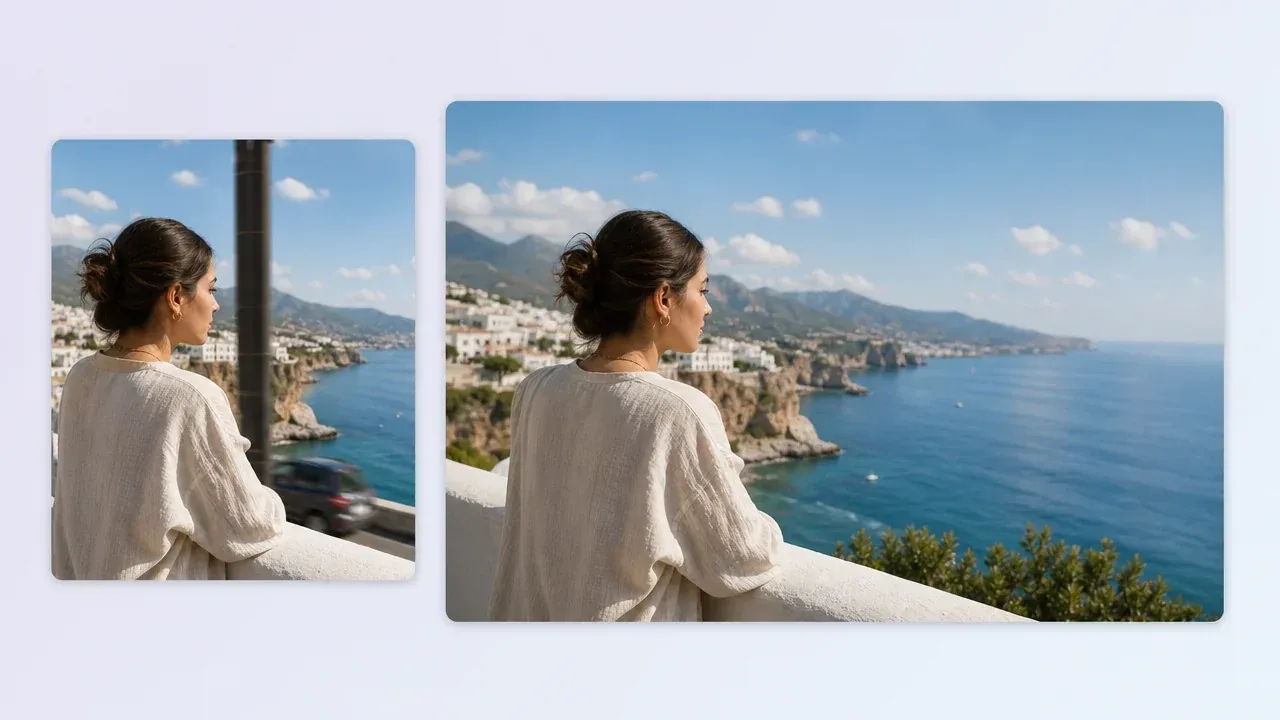
Fix one object, background, light issue, or portrait detail after the upscaled image reveals what still needs work.
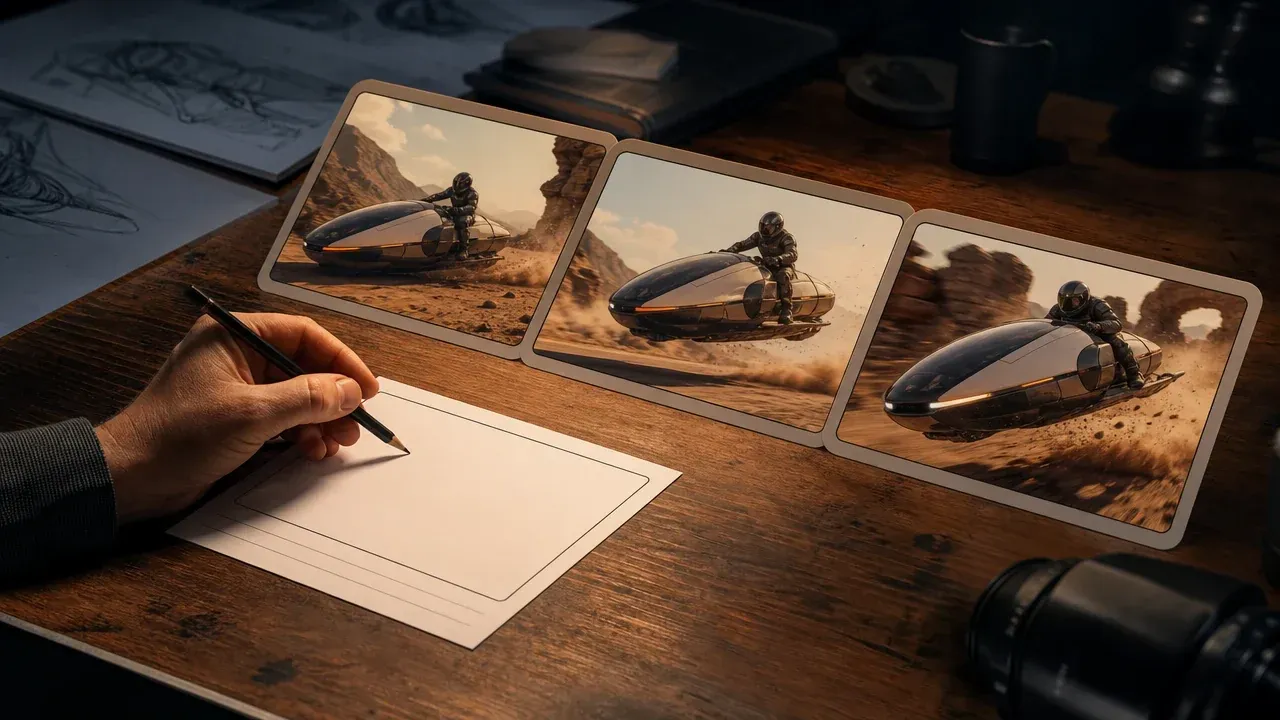
Turn a sharper approved still into a short motion concept when the image direction is ready.
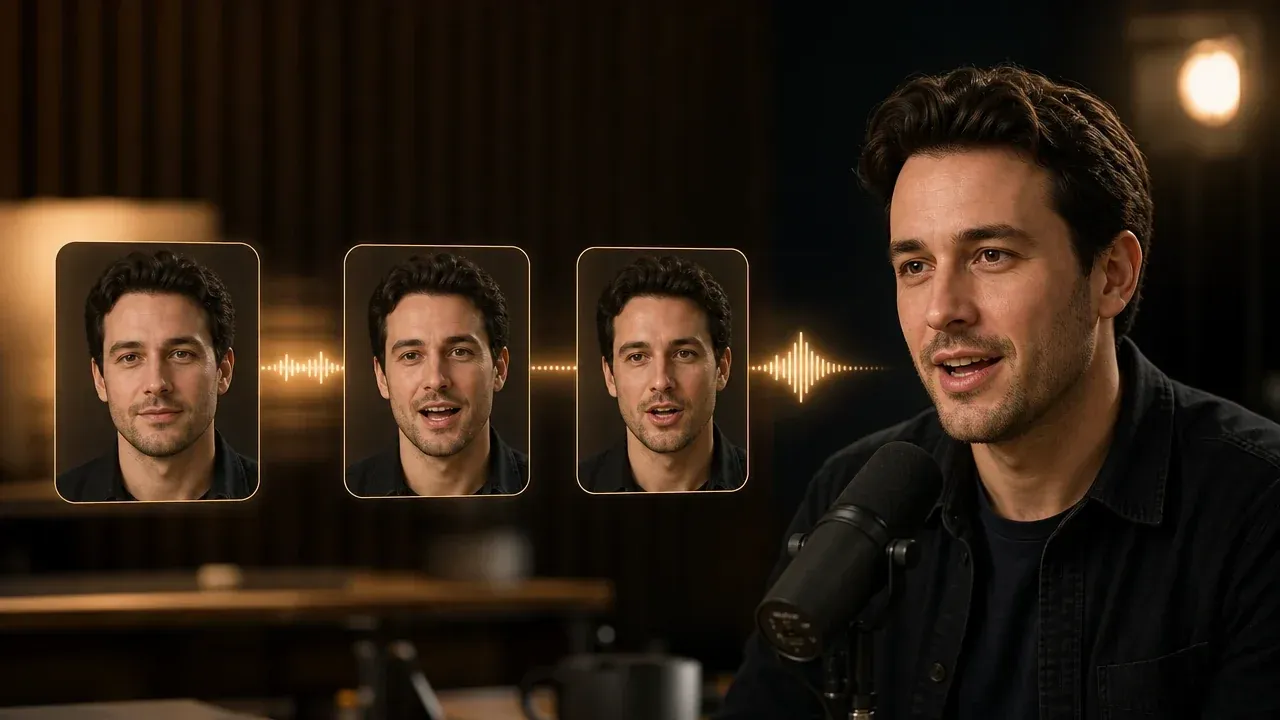
Use a clearer portrait as the starting point when the next step is a speaking photo or avatar clip.
Direct answers about source images, scale choice, output quality, rights, publishing, and when to switch to another FaceAI tool.
An AI image upscaler increases image resolution and sharpens visible detail from a source image. It is useful when the photo or visual draft is already close but looks too soft at the size you need.
Upload one image, choose the scale factor, start the upscale task, then keep the page open until the result preview and download controls appear.
Start with 2x when you need a safer clarity pass for web, thumbnails, or review. Use 4x when the source is clean and you need a larger export.
Upscaling is meant to keep the same composition and aspect ratio. If you need a new crop, background, style, or layout, use an editor or image-to-image workflow instead.
Use a small but readable image with one clear subject, visible edges, and limited compression. Extremely blurry, tiny, or heavily compressed files give the model less real detail to work from.
It can improve some soft or compressed images, but it cannot fully recover detail that was never captured. Motion blur, crushed faces, and tiny subjects still have real limits.
Not every time. Upscaling can alter tiny details, so inspect identity-sensitive faces, product labels, logos, and readable text before publishing. Add critical text and brand marks later in a design tool.
The model builds from the source. A cleaner input gives it better edges, texture, and structure to preserve; a weak input forces more guessing.
Yes, product photos are a strong use case when the pack, object shape, and lighting are already usable. Check labels, edges, reflections, and materials after the result appears.
Yes. Upscaling can make a portrait easier to use in thumbnails, profile pages, and talking-photo workflows, but you should inspect eyes, hair, teeth, hands, and facial identity before sharing.
You are responsible for rights to the source image, people, products, logos, and protected material inside it. Do not publish or sell media you do not have permission to use.
Download the sharper image if it is ready. If one detail is wrong, use AI Image Editor. If the whole style needs to change, use AI Image to Image. If the still is approved, try video or talking photo next.
The workspace uploads the source image, creates the upscaling task, waits for processing, and prepares the final file. Keep the page open until the result panel updates.
Yes. You can upload, choose the scale, start the task, preview the result, and use download or share controls from a mobile browser.
Use AI Image Editor when the issue is one object, background, lighting problem, or local detail. Use the upscaler when the main issue is image size or softness.
Upload the image worth keeping, choose 2x or 4x, and make the next review copy sharper before you publish or keep editing.