Free AI Image Editor Online for Photo Fixes - No Sign-Up
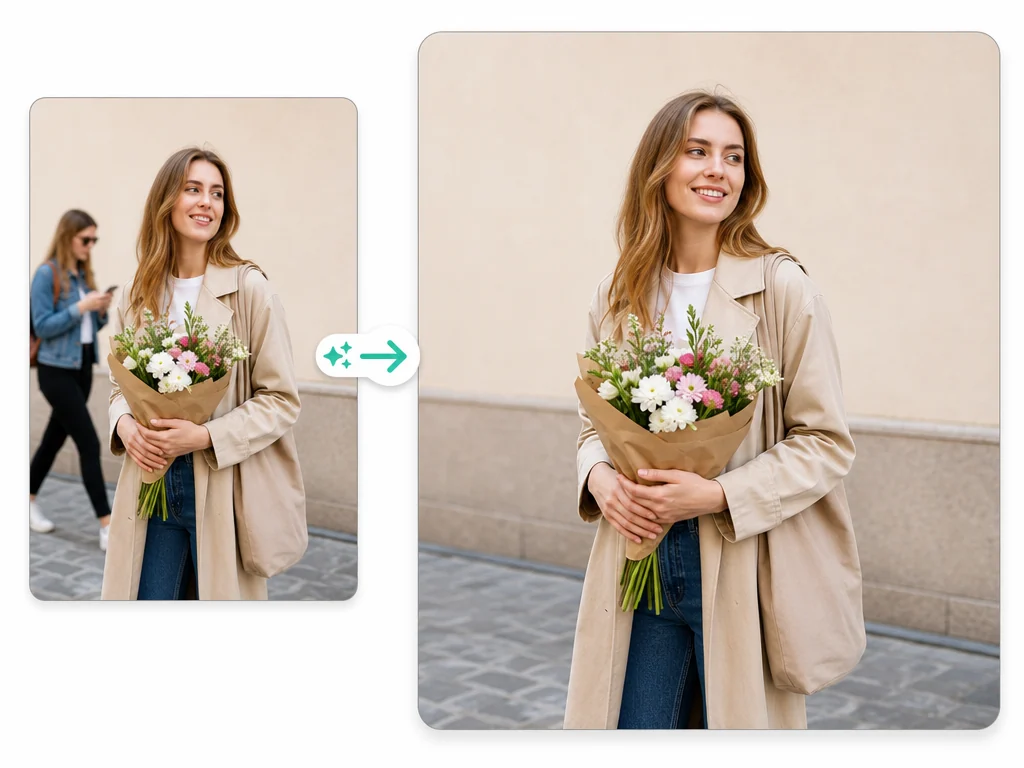
Upload an existing image, describe one clear fix, and review an edited version without rebuilding the whole frame. Use it for object removal, background changes, portrait polish, lighting correction, and last-mile asset cleanup with no sign-up or watermark.
Trusted by 12,000,000+ users worldwide.
How to Use the AI Image Editor in 3 Steps
Keep the pass narrow: start with a strong source image, ask for one clear change, then inspect whether the subject stayed intact.
Upload the source image
Choose a photo, banner, portrait, product shot, room image, or campaign draft that already has the framing worth keeping.
Describe one focused edit
Name what should change and what must stay untouched, such as the product edge, face angle, room layout, or lighting direction.
Generate, inspect, continue
Review the edited result, compare it with local history, then download it or move it to image-to-image, upscaler, video, or talking photo.
AI Image Editor Use Cases for Existing Photos
Use the editor for focused jobs: removing distractions, replacing backgrounds, portrait polish, relighting scenes, and approved asset cleanup. Each pass starts from an existing image worth keeping.
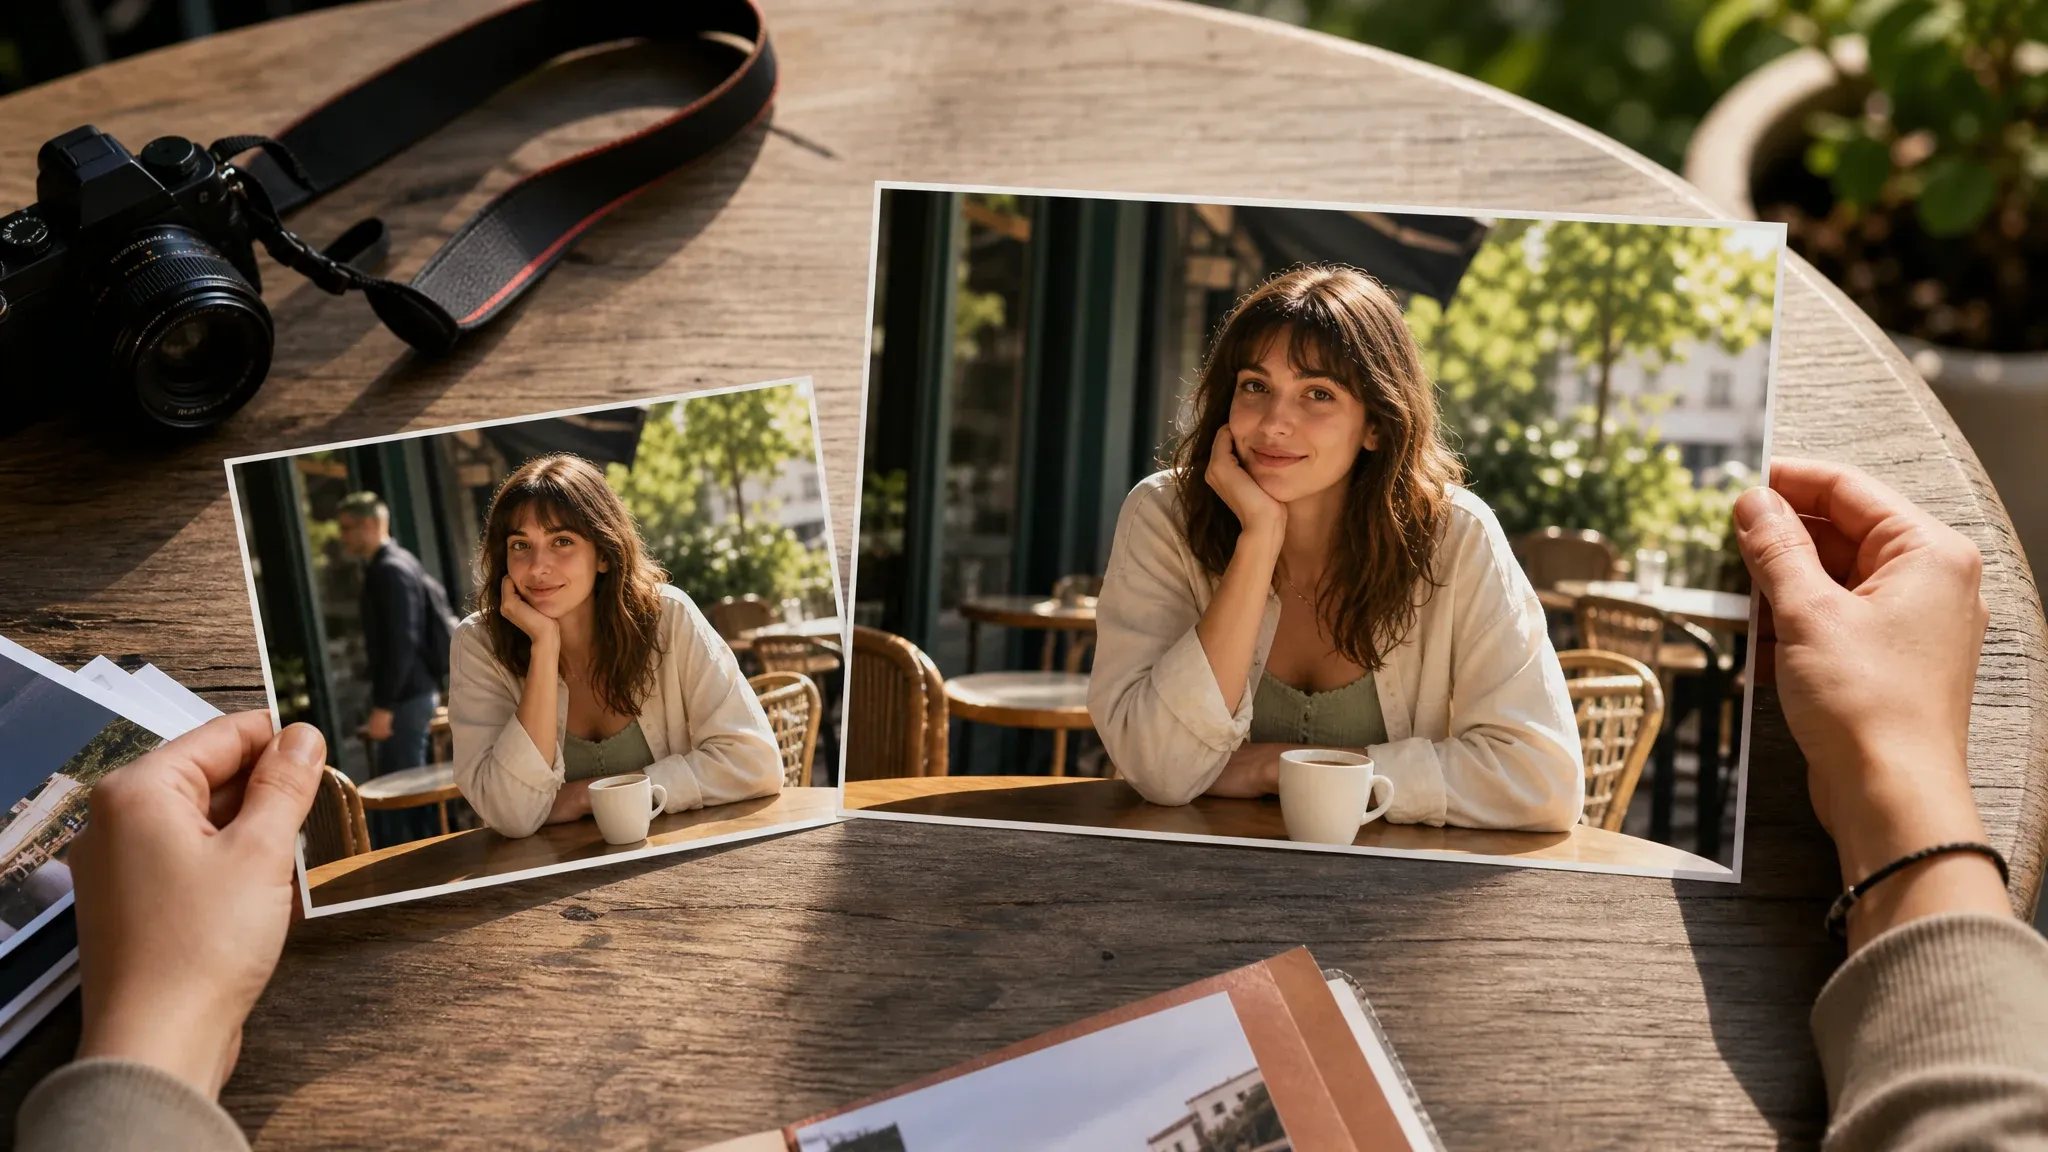
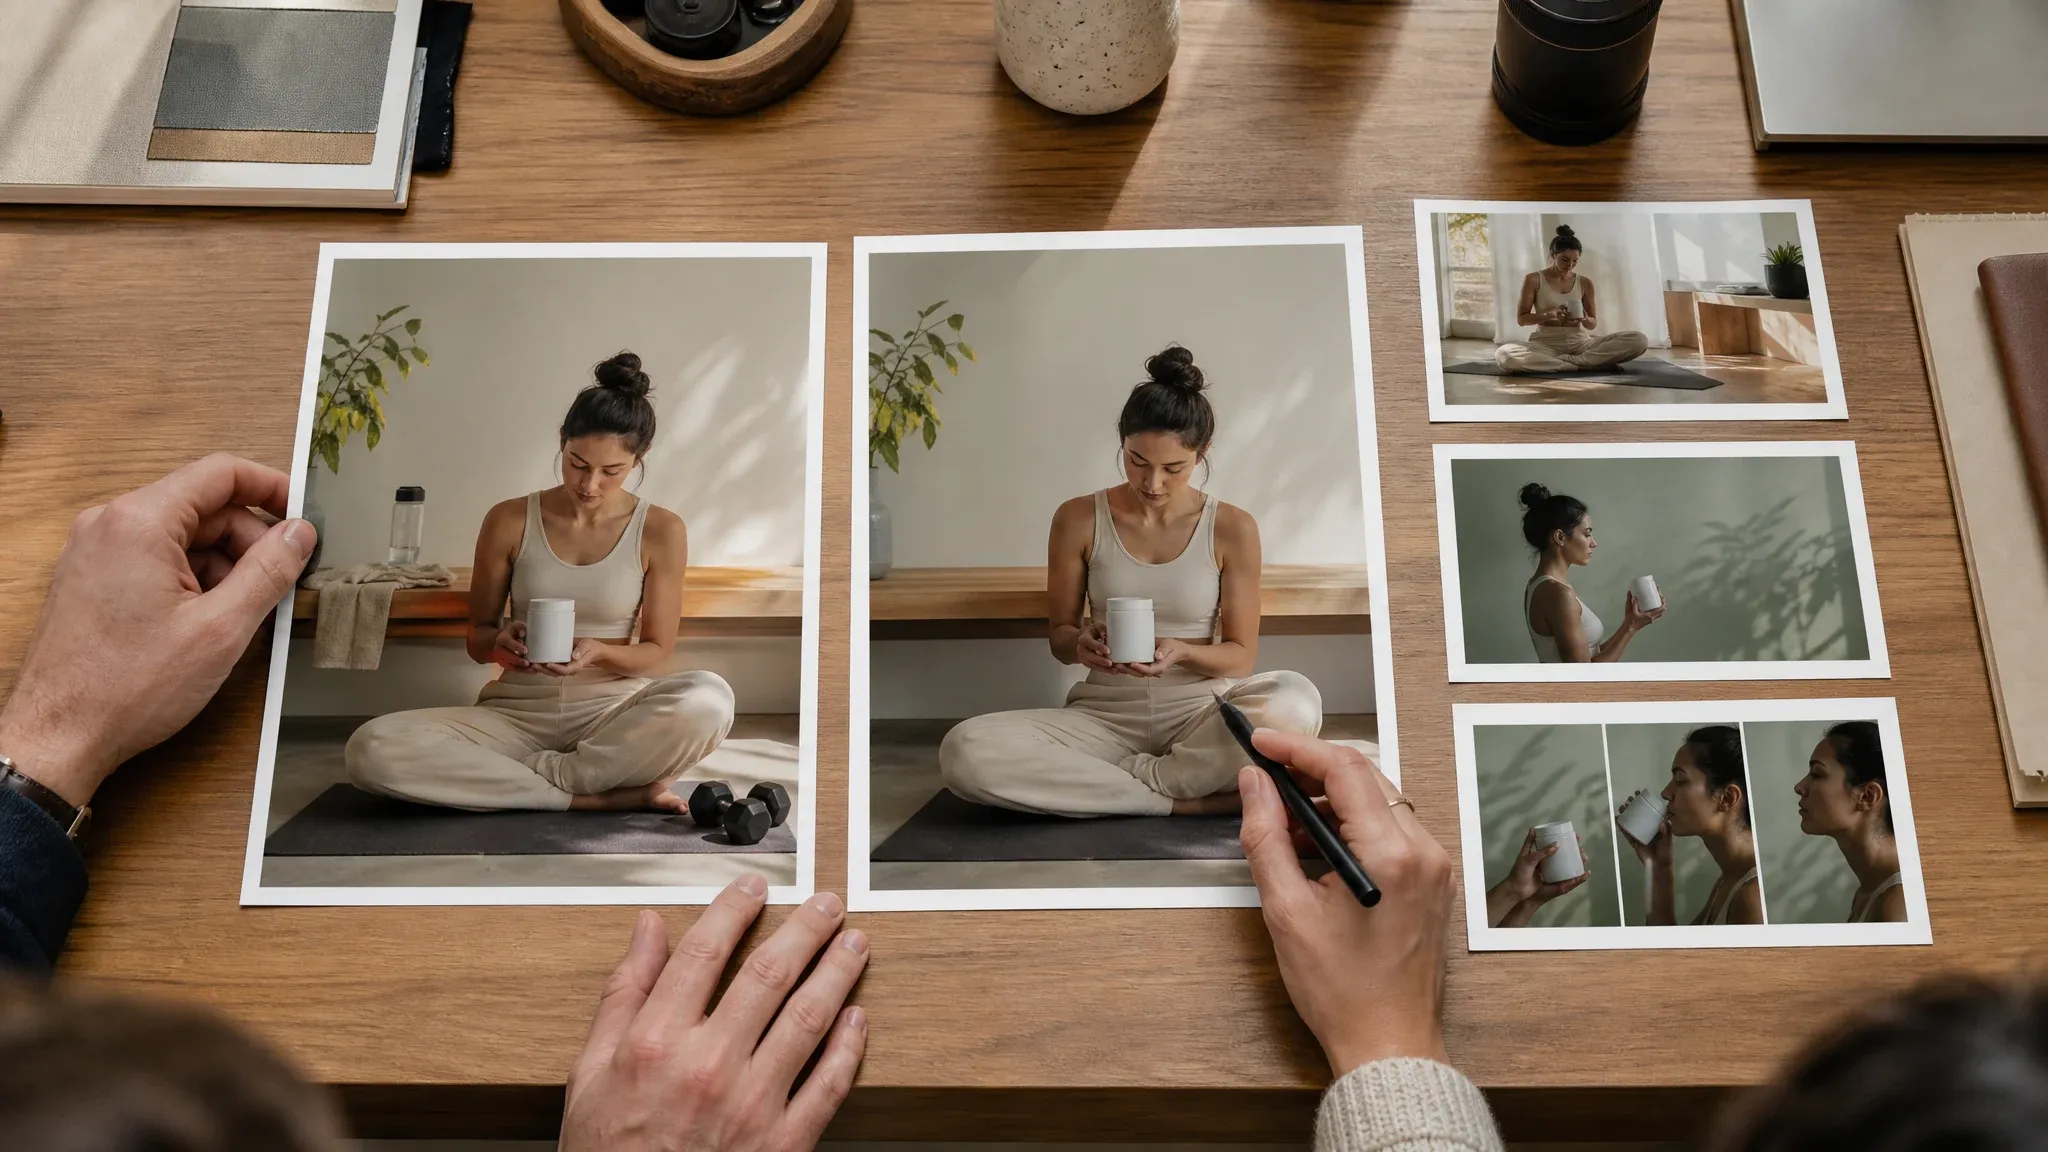
Remove distractions from a keeper photo
Take out a passerby, prop, cable, reflection, or background clutter while keeping the main person, product, and framing in place.
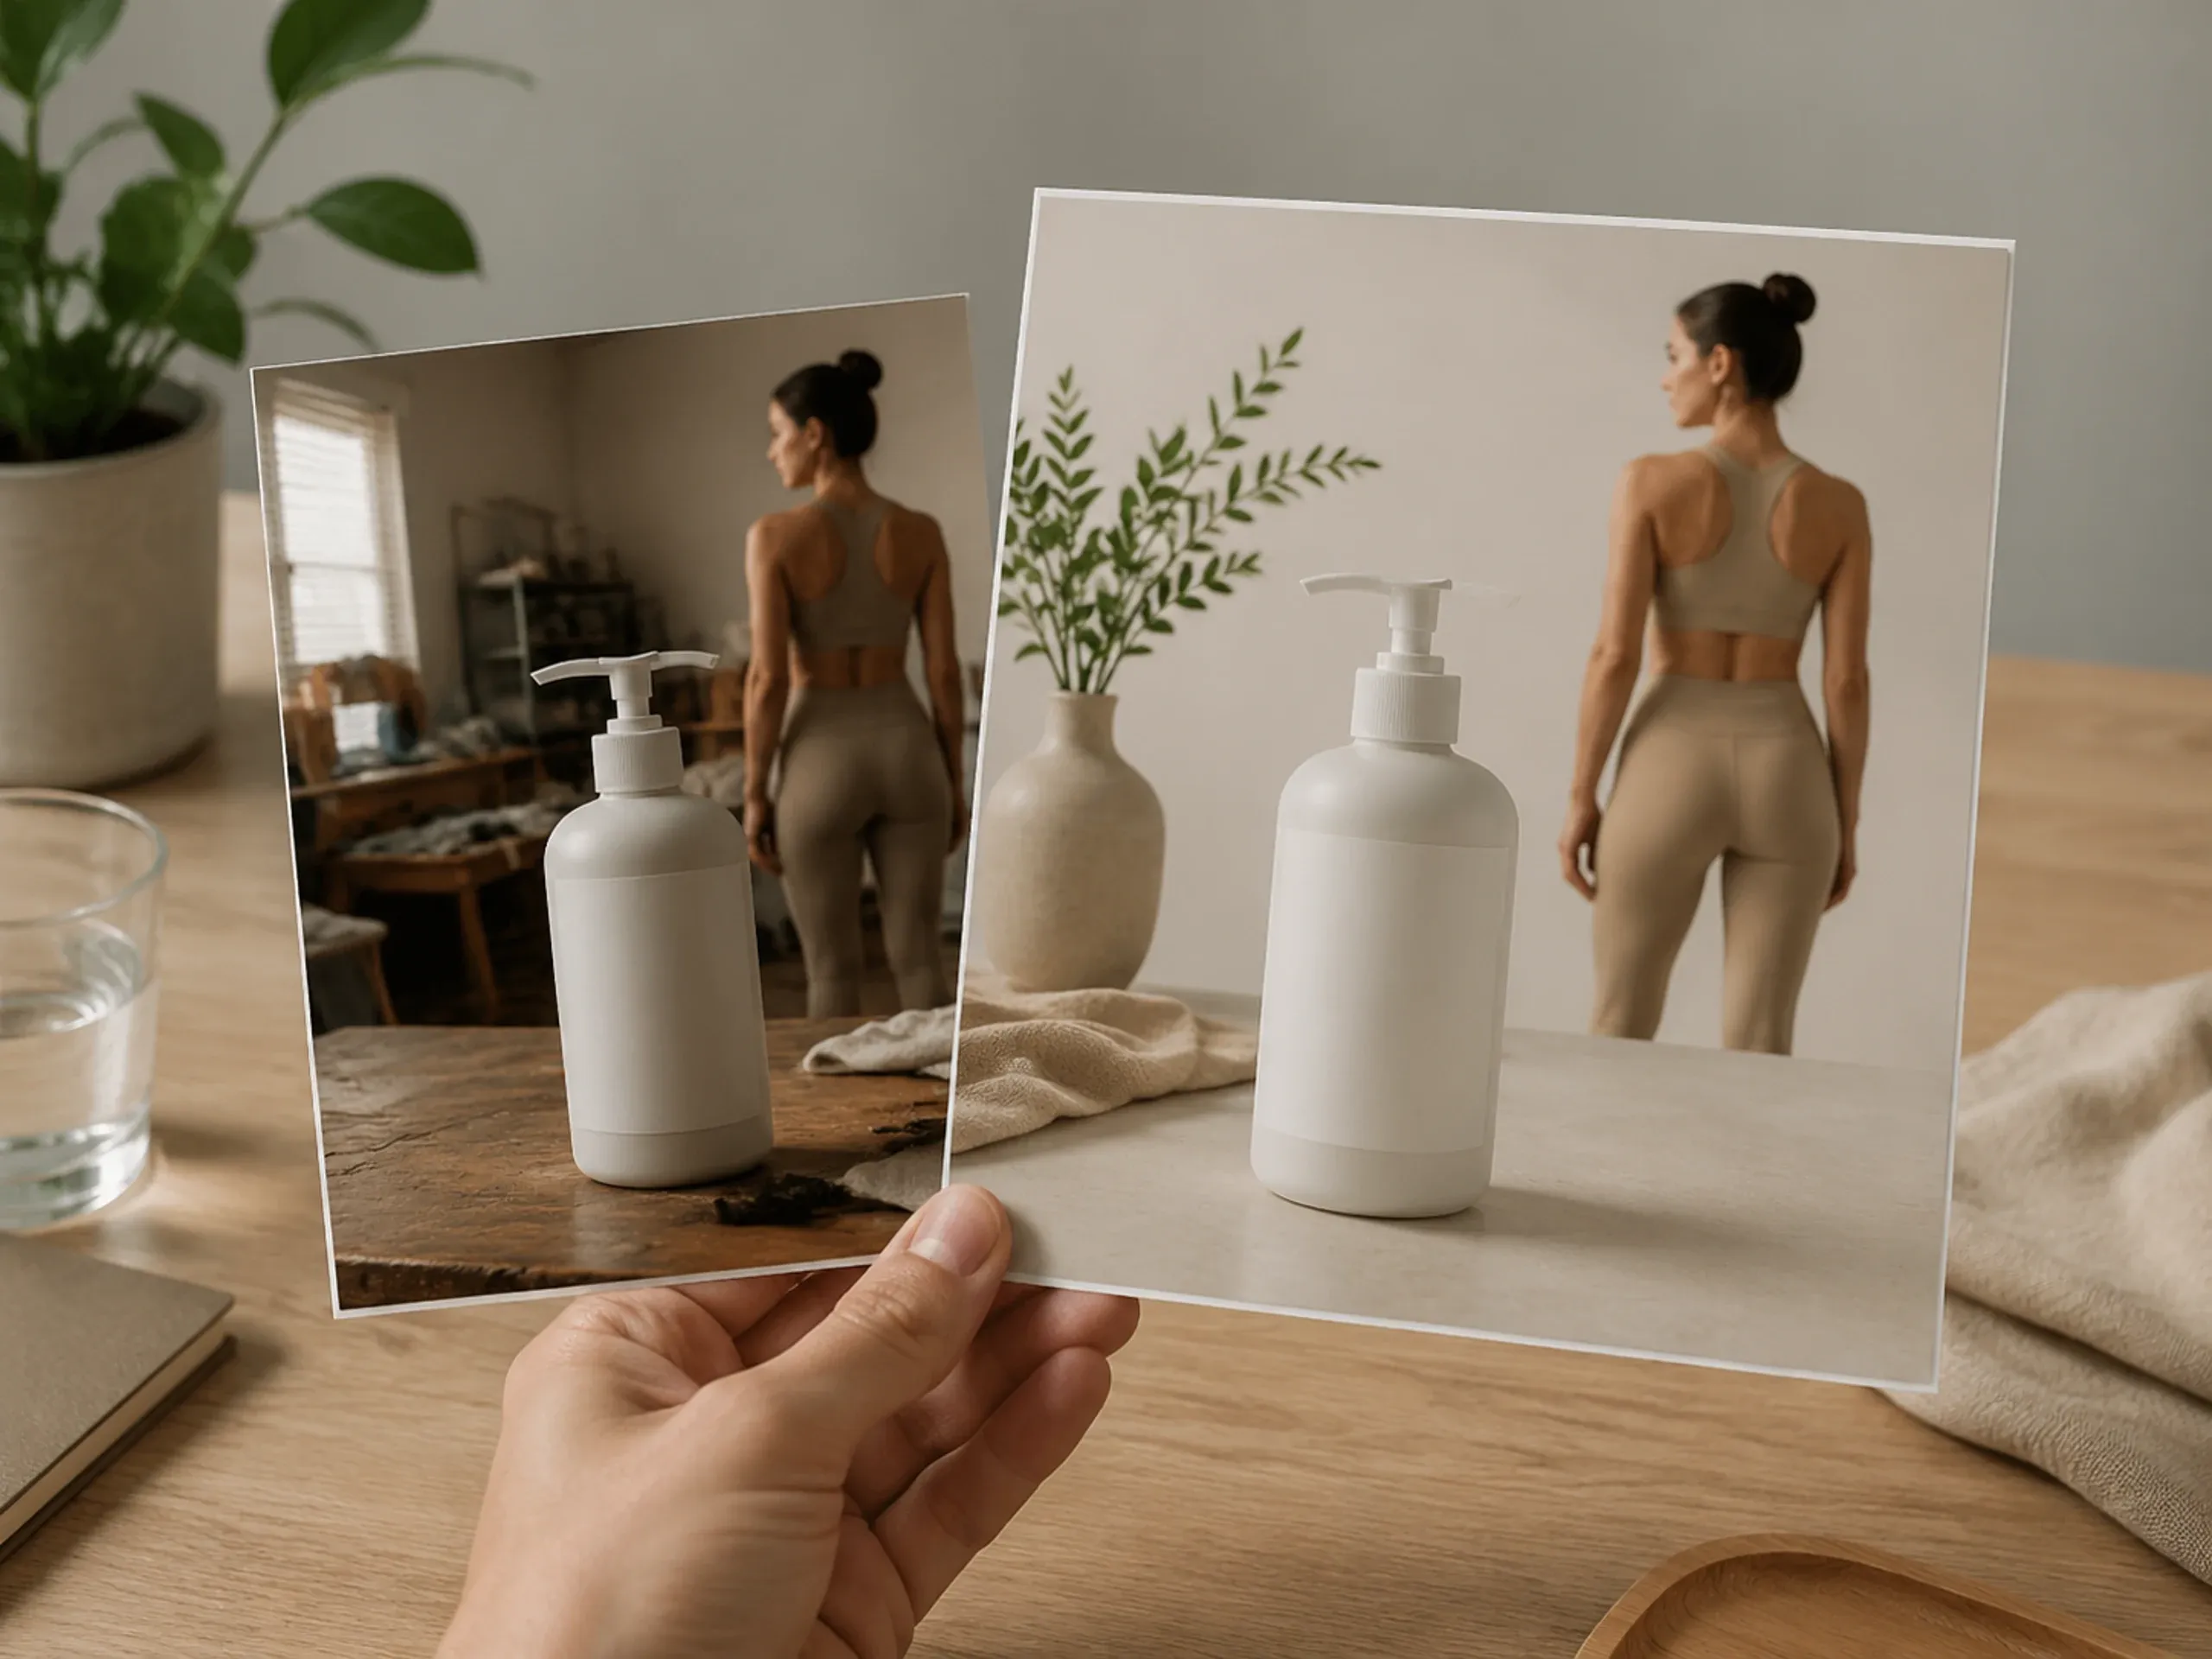
Replace a weak background
Move a product or portrait from a messy room into a cleaner studio or lifestyle setting without asking the model to reinvent the subject.
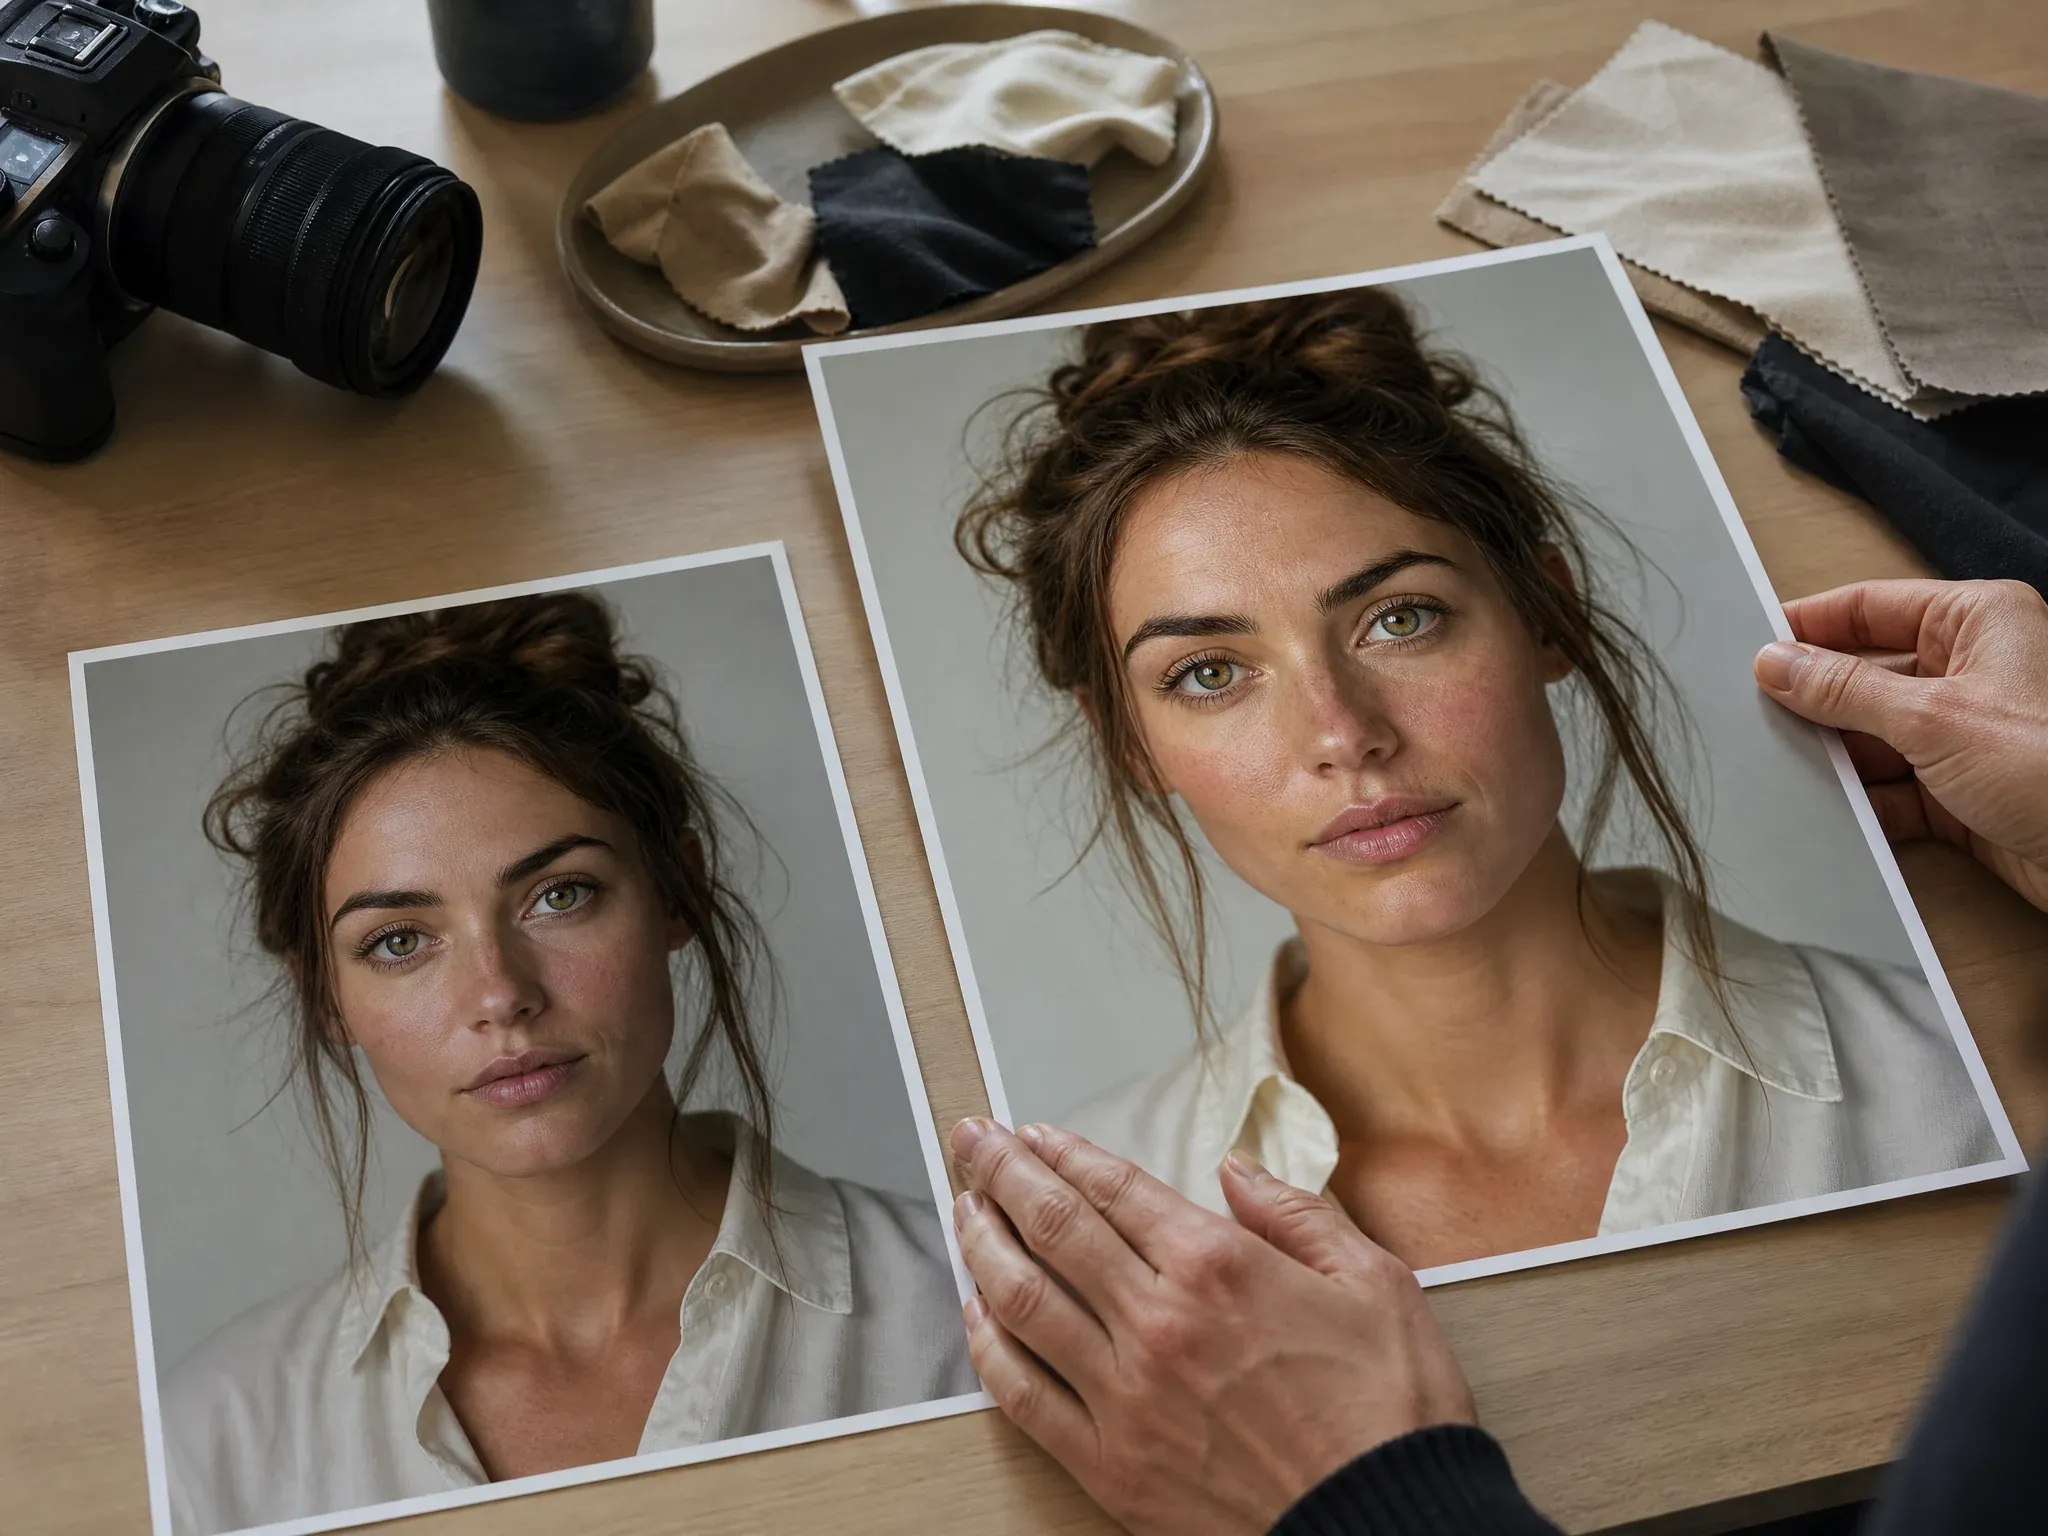
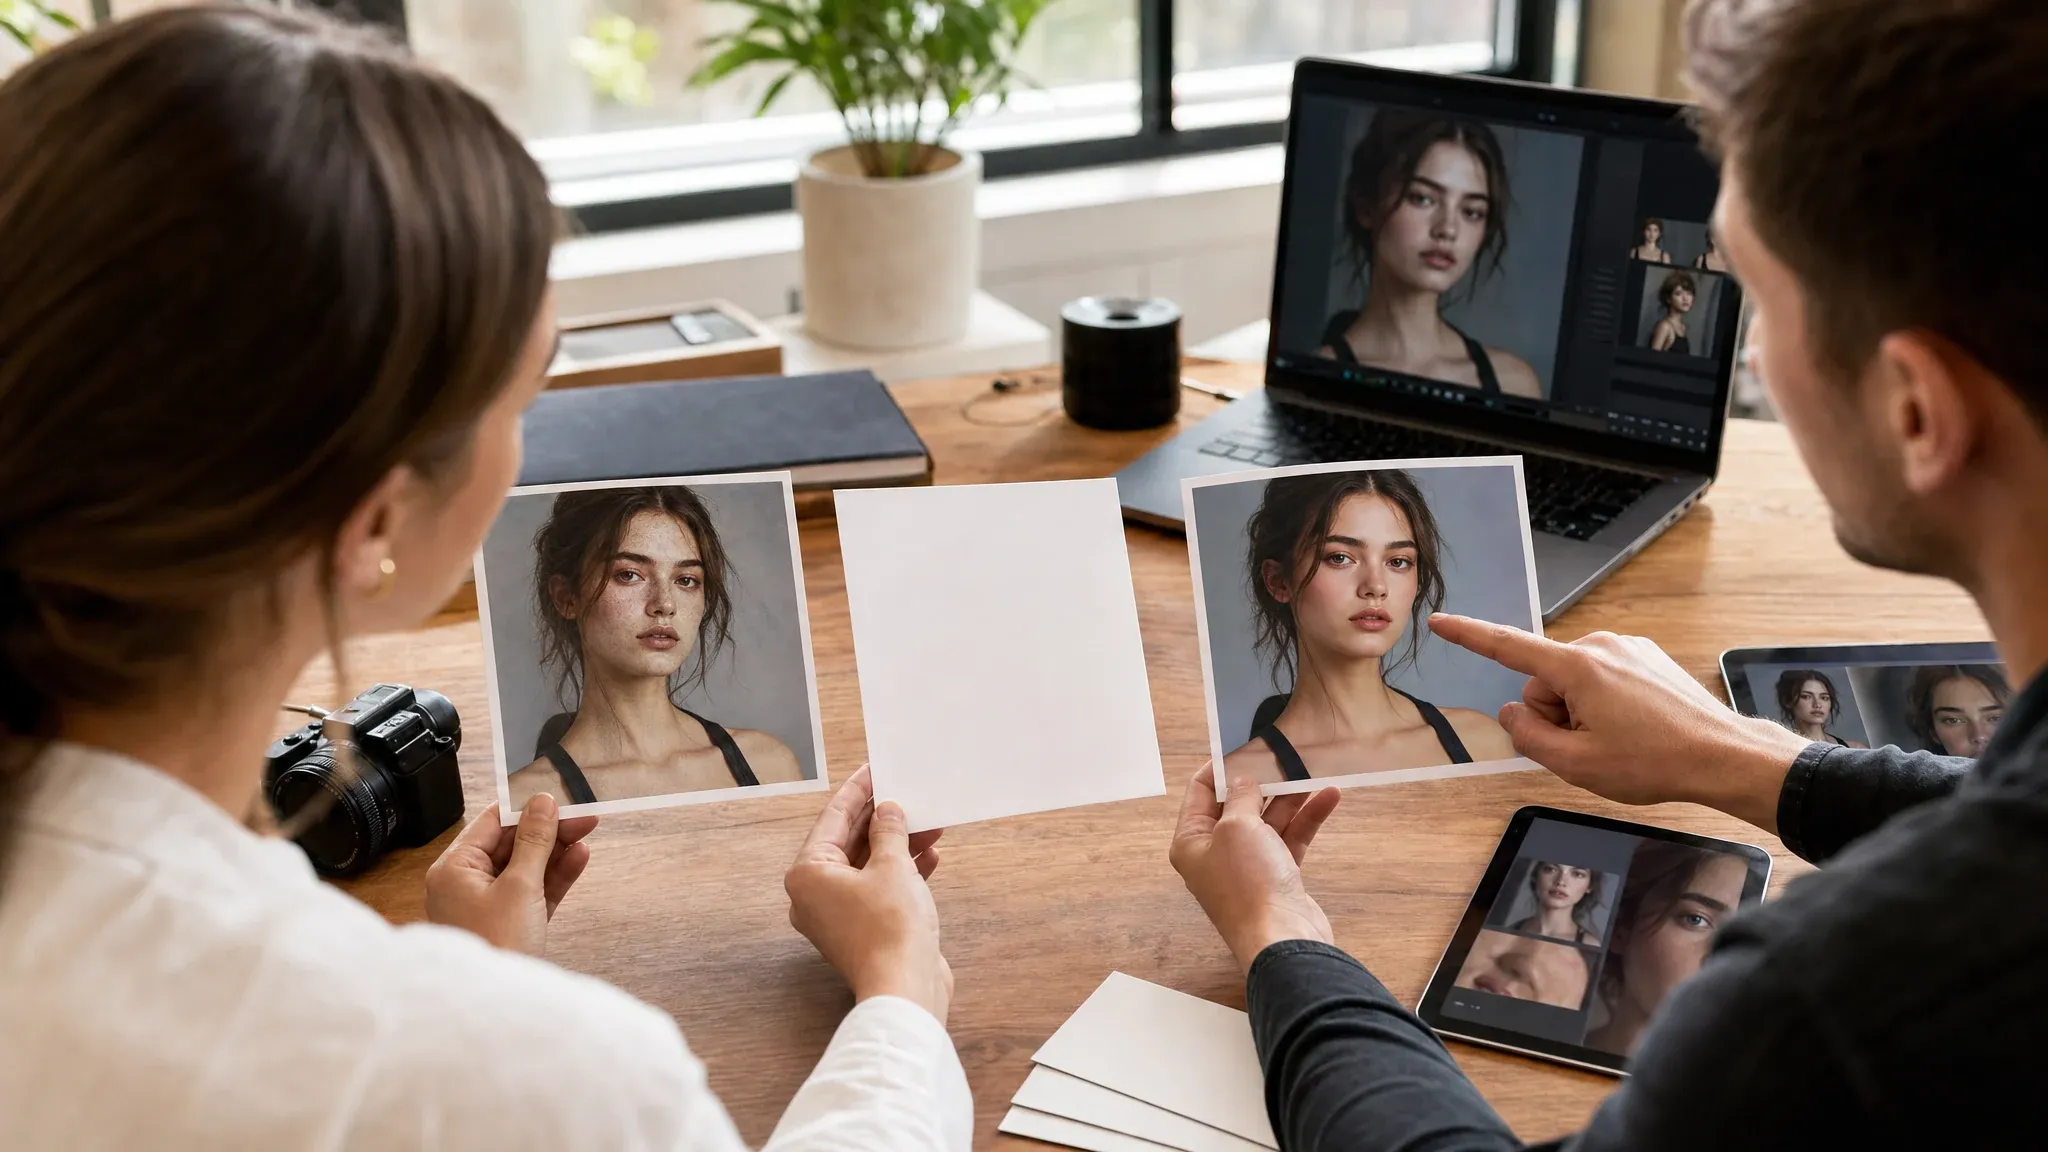
Polish portraits without changing identity
Clean skin texture, hair flyaways, focus, and color balance for profile shots, thumbnails, or campaign portraits while keeping the person recognizable.

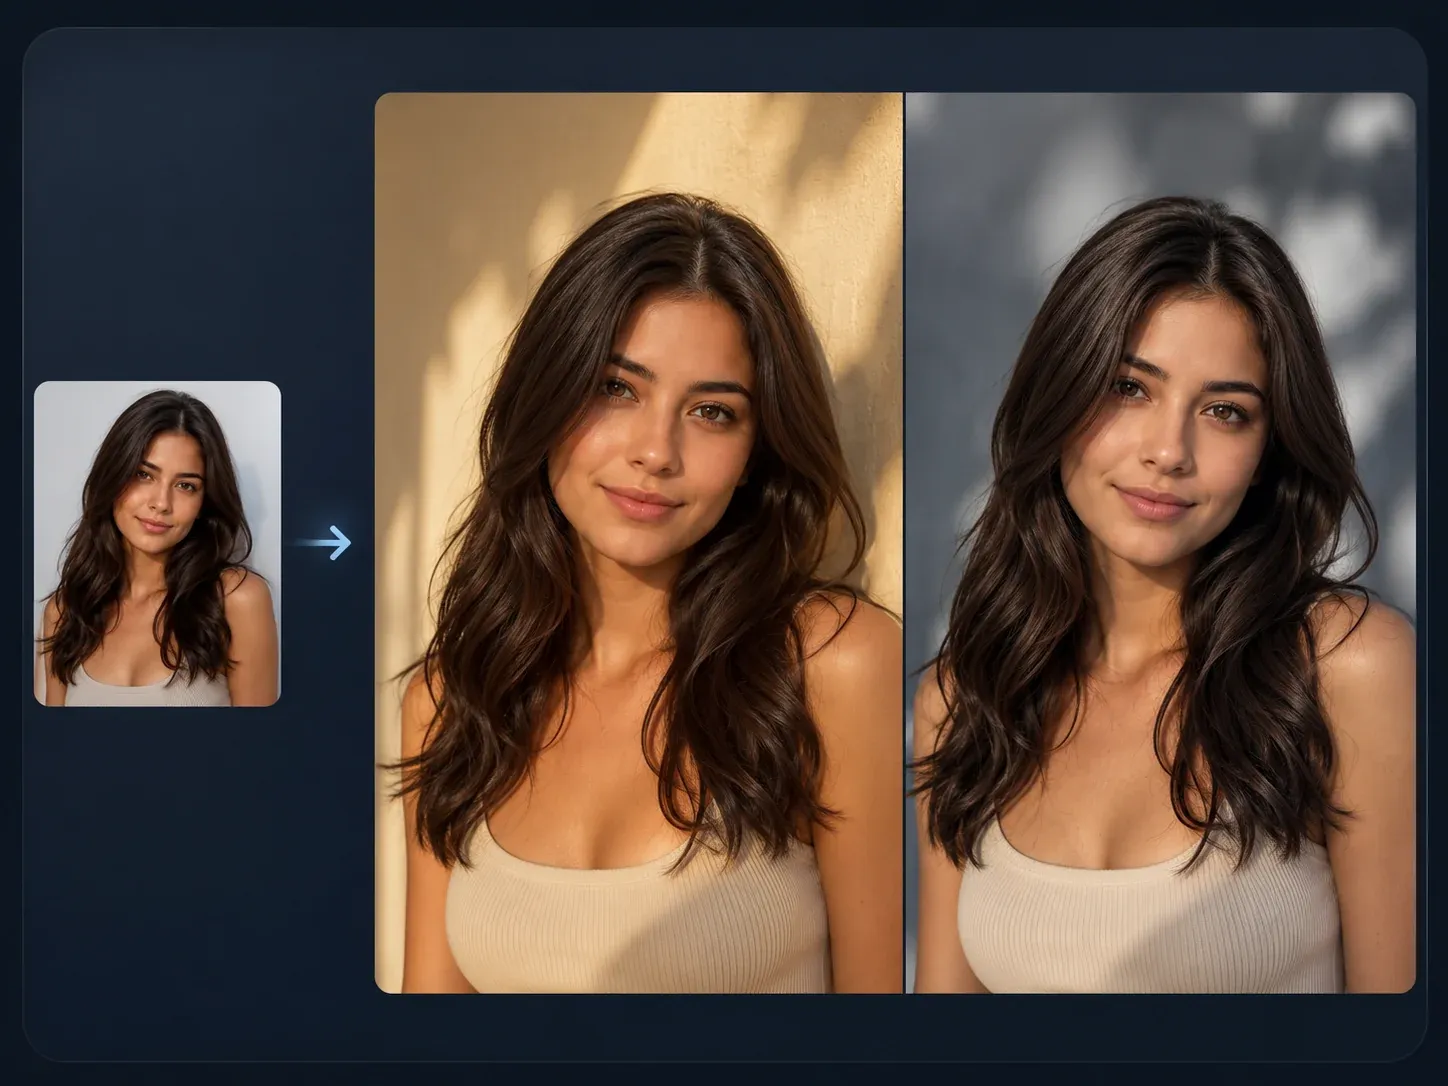
Relight interiors and campaign scenes
Fix flat or dim lighting in room photos, travel shots, and campaign scenes when the layout is useful but the exposure blocks approval.
Revise an approved asset instead of starting over
Use one focused edit pass when the team already likes the concept and only needs a cleaner frame before upscaling, animation, or launch review.
What Is an AI Image Editor?
An AI image editor starts with an uploaded image and applies a prompt-guided change to it. It is the right tool when the photo is close and one problem still stops it from being usable.
Existing image first
The source photo gives the model a real frame to preserve, including crop, subject placement, and lighting direction.
Instruction-based revision
You describe the edit instead of painting a manual mask. The prompt should name the object, area, or visual problem directly.
Local fix, not full reinvention
Use this for cleanup, relight, background replacement, and retouching. Use image-to-image when the whole look needs to change.
Why Use FaceAI for Prompt-Guided Image Editing?
The workbench keeps the edit process simple: one uploaded image, one edit mode, one focused prompt, and recent results available for comparison.
Built for narrow fixes
Object removal, background replacement, portrait polish, and relighting are separated into clear modes so the request starts with a useful direction.
Prompts protect the original frame
The visible prompt field makes it easy to say what should change and what should stay unchanged before the edit starts.
History keeps review practical
Recent edited images stay in the workspace, so teams can compare the safer pass against the one that drifted too far.
Natural next steps
Send the finished edit to image-to-image for variants, upscaler for a sharper export, or talking photo and video tools when motion is the next brief.
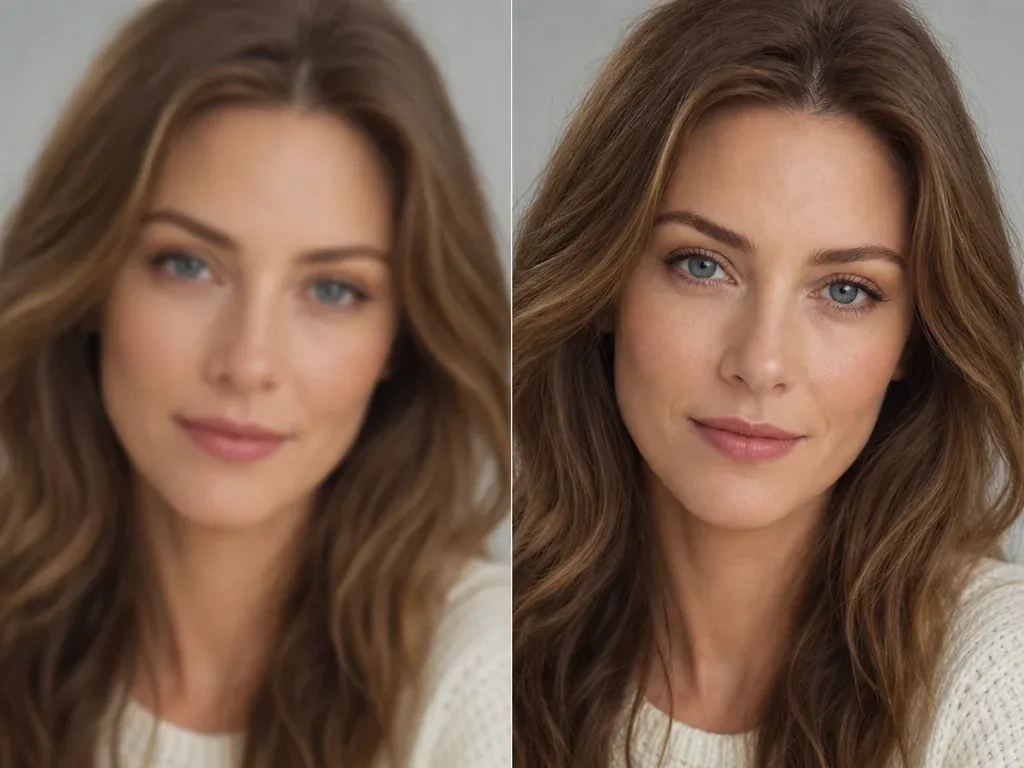
How to Get a Cleaner AI Image Edit
Better results usually come from better boundaries. Say exactly what should change, then protect the parts of the image that matter most.
Try the editor workspaceUse a clean source
Readable edges, one main subject, and enough space around the edit area help the model rebuild the scene more naturally.
Ask for one pass at a time
Object removal plus a small lighting fix is easier to review than background replacement, skin retouch, product cleanup, and restyle in one run.
Protect hard details
Name anything that must stay stable: face angle, product outline, label hierarchy, hand shape, room layout, or camera crop.
Inspect the difficult edges
Hair, glass, reflections, thin product outlines, and crowded overlaps can still need another pass or manual review.
AI Image Editor vs. Object Removers, Image-to-Image Tools, and Manual Editing
Use this workflow when a focused edit can save the image. Do not treat it as a guarantee that every face, logo, label, or transparent edge will remain exact.
| Kriterium | Face AIUnser Focused image revision workflow | Other approaches |
|---|---|---|
| Starting point | Upload one existing image and describe the exact fix. | Text-only generators start from zero and often lose the frame you already liked. |
| Best use | Object removal, background replacement, portrait polish, relighting, and approved asset cleanup. | Single-purpose object removers may not explain when to switch to a broader restyle. |
| Control method | Choose an edit mode, then write what changes and what stays. | Brush tools require manual selection; broad prompt tools can change too much. |
| Review workflow | Compare current and previous edits in local history before choosing the next pass. | One-shot pages often push download before comparison. |
| Honest limit | Hair, glass, reflective surfaces, crowded overlaps, tiny labels, and exact logos still need inspection. | Other cleanup tools often hide these edge cases behind broad cleanup claims. |
| Rights boundary | You still need rights to the source photo, people, products, logos, and protected material inside it. | Some tools make commercial-use copy sound simpler than the real clearance work. |
How Teams Use the AI Image Editor on Real Assets
These comments focus on the actual review loop: upload a keeper image, ask for one fix, inspect the result, then decide whether it needs another pass.
Best when the image is almost done and one bad detail is what still blocks it.

Mei Chen
E-commerce Director
We use it to remove props or clean backgrounds on marketplace images. One narrow edit request is much safer than trying to regenerate the whole product shot.

Yuki Tanaka
Head of Marketplace Operations
Good cleanup tool. Not a reason to restart the shoot.

Soyeon Kim
VP of Online Retail
Customer-facing images fall apart when the edit prompt is vague. As soon as we name the object to remove and the part to preserve, the results get steadier.

Hana Yamamoto
Customer Experience Director
I use it for final polish, not for creative discovery.

Wenjing Li
Chief Marketing Officer
We had a batch of ads where the product framing was right but the background felt noisy. This let us fix the environment without reopening the whole concept.

Divya Chakraborty
Marketing Director
It behaves better than most editors when the request is specific.

Ishita Banerjee
Head of Growth Marketing
Best when the image is almost done and one bad detail is what still blocks it.
Mei Chen
E-commerce Director
We use it to remove props or clean backgrounds on marketplace images. One narrow edit request is much safer than trying to regenerate the whole product shot.
Yuki Tanaka
Head of Marketplace Operations
Good cleanup tool. Not a reason to restart the shoot.
Soyeon Kim
VP of Online Retail
Customer-facing images fall apart when the edit prompt is vague. As soon as we name the object to remove and the part to preserve, the results get steadier.
Hana Yamamoto
Customer Experience Director
I use it for final polish, not for creative discovery.
Wenjing Li
Chief Marketing Officer
We had a batch of ads where the product framing was right but the background felt noisy. This let us fix the environment without reopening the whole concept.
Divya Chakraborty
Marketing Director
It behaves better than most editors when the request is specific.
Ishita Banerjee
Head of Growth Marketing
The workflow feels realistic: upload, name the fix, review, then run another pass only if something still looks off. That is closer to how brand teams actually work.

Ritu Agarwal
E-commerce Marketing Lead
Useful for catalog cleanup before a new launch set goes live.

Neha Malhotra
Head of DTC Operations
I was skeptical because other editors tend to over-change the pack shot. This one still needs a good source, but it preserves the core product shape better than I expected.

Kwesi Mensah
E-commerce Director
We use it when logistics photos are usable but not publishable yet.

Fatima Traore
Head of Operations
My team mostly edits assets that are already approved except for one distracting element. The trick is to keep the request tight and avoid stacking five fixes into one pass. When we do that, the model holds the original composition well enough for DTC review.

Anisha Patel
Brand Director
The before and after difference is biggest on background cleanup and small retouch tasks. We tried asking for full restyles inside the editor and the output drifted too far. For narrow revisions, though, it saves a real round of manual cleanup.

Xiaofang Wang
Senior Marketing Strategist
Good last-mile fix for paid assets that only need a cleaner frame.

Mika Suzuki
Performance Marketing Director
The workflow feels realistic: upload, name the fix, review, then run another pass only if something still looks off. That is closer to how brand teams actually work.
Ritu Agarwal
E-commerce Marketing Lead
Useful for catalog cleanup before a new launch set goes live.
Neha Malhotra
Head of DTC Operations
I was skeptical because other editors tend to over-change the pack shot. This one still needs a good source, but it preserves the core product shape better than I expected.
Kwesi Mensah
E-commerce Director
We use it when logistics photos are usable but not publishable yet.
Fatima Traore
Head of Operations
My team mostly edits assets that are already approved except for one distracting element. The trick is to keep the request tight and avoid stacking five fixes into one pass. When we do that, the model holds the original composition well enough for DTC review.
Anisha Patel
Brand Director
The before and after difference is biggest on background cleanup and small retouch tasks. We tried asking for full restyles inside the editor and the output drifted too far. For narrow revisions, though, it saves a real round of manual cleanup.
Xiaofang Wang
Senior Marketing Strategist
Good last-mile fix for paid assets that only need a cleaner frame.
Mika Suzuki
Performance Marketing Director
What Should You Try After AI Image Editing?
Pick the next tool based on what the image still needs: a fresh source, a broader restyle, a sharper export, motion, or a speaking portrait.

AI Image Generator
Start from text when there is no source photo worth editing yet, then bring the best draft here for cleanup.
AI Image to Image
Use source-guided variation when the whole image needs a new look, not just one local fix.
AI Image Upscaler
Send the approved edit to upscaling when the image direction is right but the export still needs a sharper pass.
AI Video Generator
Turn a finished still image into a short motion concept after the edit has passed review.
Talking Photo
Animate a cleaned portrait once the still face, background, and lighting are ready.
AI Image Editor Questions, Answered
Direct answers about edit prompts, source image quality, object removal, backgrounds, retouching, rights, and when to use another FaceAI tool.
An AI image editor starts from an uploaded image and applies a prompt-guided change to it. Use it when the original frame is close but one object, background, light issue, or detail still needs work.
Upload one source image, choose the edit direction, describe the exact change, then generate the edited result. Keep the page open until the result panel shows download and share controls.
It is best for removing distractions, replacing backgrounds, relighting scenes, portrait polish, and controlled cleanup of existing product or campaign images.
AI Image Editor is for one targeted fix on a source image. AI Image to Image is for broader variants, restyles, and campaign directions where the whole image can change more.
No. This workflow is instruction-based. You can describe the object, area, or lighting change in plain language instead of brushing a mask.
Ask for fewer changes, protect important details in the first sentence, and run one edit mode at a time. If the whole image needs a new look, switch to AI Image to Image instead.
Use a clear image with one main subject, readable edges, and enough separation around the area you want changed. Very blurry, crowded, or overlap-heavy photos are less predictable.
No. Simple isolated objects are easier. Hair overlap, glass, reflections, transparent edges, hands, tiny labels, and crowded scenes can still need another pass or manual review.
Not every time. If exact text, logos, product labels, or facial identity must stay fixed, inspect the result carefully and add final typography or brand marks in a controlled design tool.
You are responsible for the rights to the source image, people, products, logos, and protected material inside it. Do not edit or publish material you are not allowed to use.
The workspace uploads the source image, creates the edit task, and prepares the final file before showing the result actions. Keep the page open until the preview updates.
Start Your AI Image Editor Pass
Upload the source image, name one fix, and review a cleaner version before you regenerate the whole idea from scratch.